Pavers are, by far, the most popular element in hardscape design. Homeowners all across the globe love them for their versatility, variety of materials and aesthetic appeal. So how to best protect the investment on such premium material? How to seal paver joints and the paver themselves?
The goal of this article is to talk precisely about the importance of that protection and how you can do it yourself. A paver installation, although not a permanent change, it is a renovation that can add tons of value to a property.
Therefore, protecting it is of extreme importance. In fact, a paver installation is not considered finished until it is sanded and sealed. So let’s get right into it and start talking about sealing and how to protect your pavers.
How to Seal Paver Joints
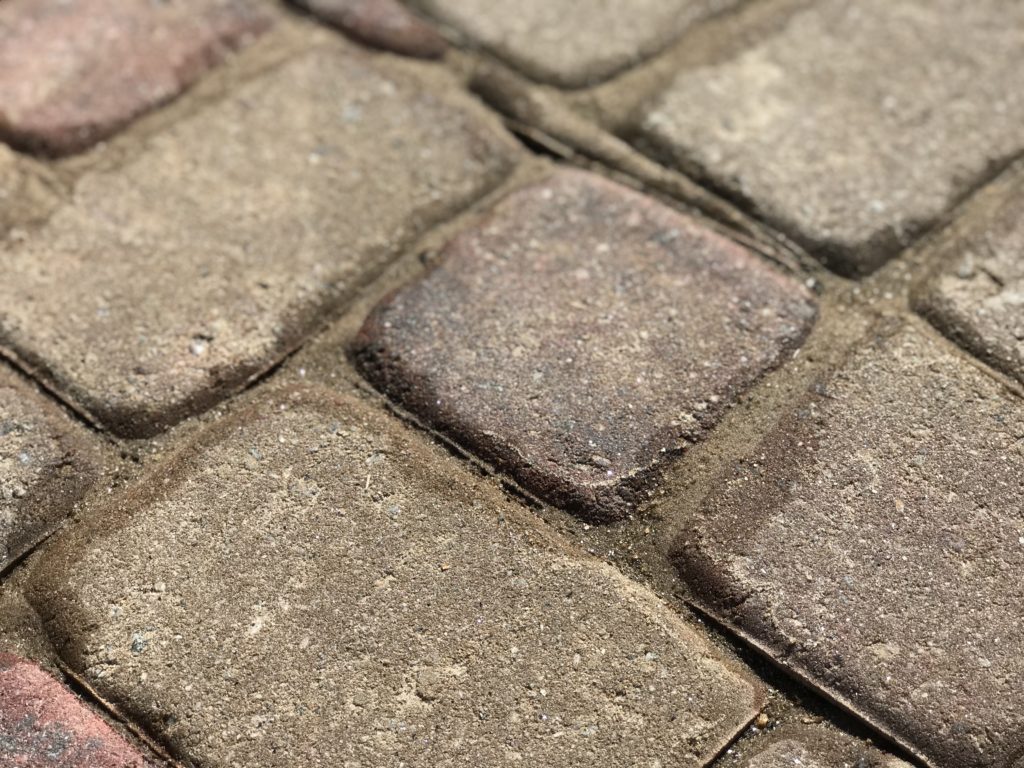
The joint between pavers are filled with polymeric sand.
Polymeric sand is not the same as regular sand. First of all, it is filtered to contain only very fine particles. To these particles is then added a special form of polymers that become a strong bonding agent when put in contact with water.
The polymeric sand is what actually allows the interlocked system pavers are so famous for to exist. It keeps the pavers tightly locked in place at the same that allows them to distribute weight evenly across a large area.
The sand is protected alongside the paver during the sealing of the installation. So let’s follow the steps in the correct order and first teach you how to apply the sand to your installation, and then sealing it.
How to Sand a Paver Installation
After your pavers are properly placed, it is time to move on to the final part of the installation, which starts by the sanding of your pavers. If you have any questions about what comes before that, this article can help you.
Start by carefully pouring sand all across your installation. Your goal is to fill all the joints between pavers. In order to do that, you’re going to sweep the sand in the direction of the joints using a broom. Do it slowly to avoid the excess dust.
Take your time and be mindful of the amount of sand you’re using. Too little sand will not get the job done, but too much can also cause problems.
Once all the joints are filled, you can sweep the excess sand away. This is actually a very important step, make sure to be as thorough as possible when removing the excess sand.
The reason for that is that polymeric sand left on the surface will create a slight haze. It will probably happen either way, but you want to minimize this effect as much as possible. This haze usually disappears after two week or so, which is around the amount of time you should wait between sanding and sealing.
With the excess sand swept away, now it is time to wet the entire installation. Use a garden hose in a shower setting and spray water across the entire installation. This will activate the sand and start bonding together with the pavers.
It is at this moment that the haze might be formed on the surface of the pavers. Again, don’t worry, as it usually goes away after a few weeks.
Now you wait between two and three weeks to move on to the sealing part.
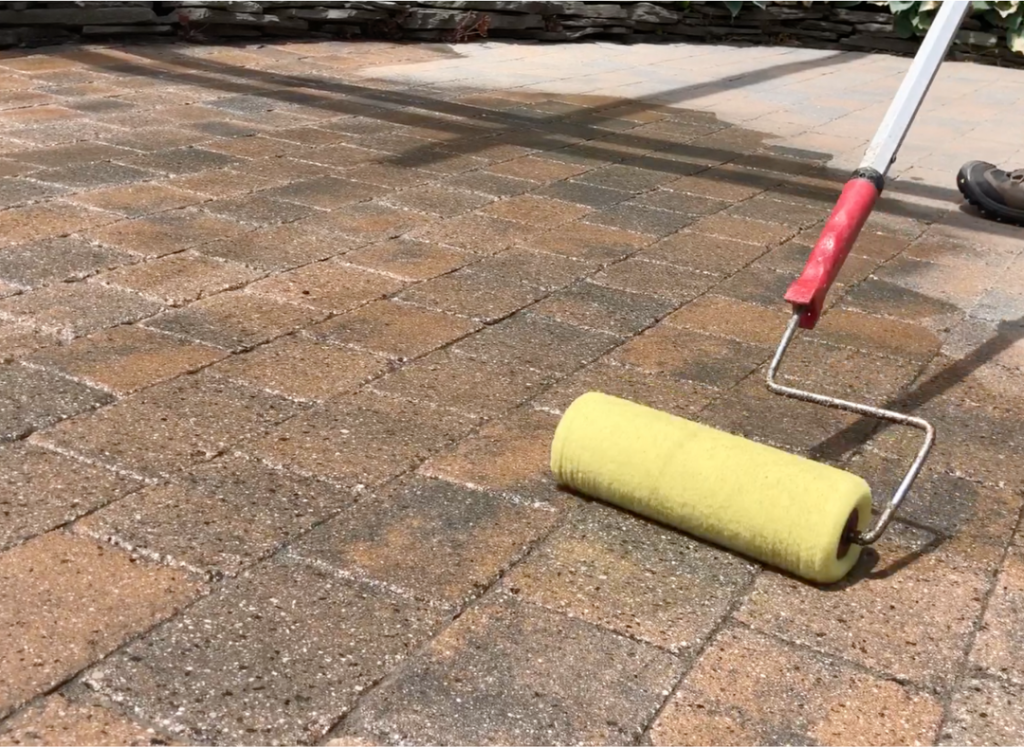
How to Seal a Paver Installation
Once the waiting period is over, you can move on to start sealing your brand-new paver installation.
Applying the sealer is more complicated than the applying the sand. That’s why sealers always come with instructions. So, if you follow those instructions, you can perform the job without many problems.
For example, some sealers require a previous thinning process, while others can be applied directly. Some might need a second, or even a third coat, all in different time windows.
The appliance method can also vary. Some sealers need to be applied with a pump and spray mechanism, while others require a paint roll, for example. That’s why it is very important to check closely the instructions of your sealer of choice.
Even so, there are a few general tips we can give you.
Work in small areas. Don’t try to seal your installation all at once. Break it into small sections that you’re comfortable moving around quickly in.
Everything must be done in a time window of a single hour. If your area is too big, you will need to ask for help.
After sealing, we usually wait around 24 hours before allowing foot traffic on the installation, and 48 hours before allowing vehicular traffic.
This sealing process, by default, will also seal the paver joints and the sand beneath them.
Professional Help to Seal Paver Joints
Sanding is easy enough, maybe the easiest part of a paver installation. The same cannot be said for sealing.
There are tons of different sealers in the market, each with its specific objective and application method, so things can get out of hand fairly quickly.
We always recommend installing paver with the help of professionals. Searching your area for qualified hardscape contractors that can help is by far the best option you can go for.
We here at Eagle Pavers have performed hundreds of paver installations and maintenance jobs across our 14 years of experience, so we know the importance of working closely with qualified professionals.
And if you happen to be around our area of activity, the Sarasota and Manatee counties, in FL, why not give us a call to help you?
You can contact us right now at +1 941-210-4192 or email us at sales@eaglepavers.us. We would be happy to hear from you and help you with your porcelain paver project.
Polymeric Sand Colors: 7 Tips to Choose
Polymeric sand is a building hardscape material used in the spaces between paving stones in…

A guide to indoor pavers in home design
Who says that paving stones can’t be implemented into interior decoration? Despite their outdoor nature,…
How to Install Permeable Pavers in 10 Steps
Among the many types of paving stones available for hardscape design, permeable pavers have been…