Among the many types of paving stones available for hardscape design, permeable pavers have been in the spotlight in recent years. The innovative technology present in these products is more than cost-beneficial; not only does it allow for great outdoor style but is also environmentally friendly, conquering the hearts of many homeowners. But the question may linger: is possible to learn how to install permeable pavers by yourself?
Oftentimes wanting to avoid expensive prices, people tend to look for alternative ways to make a dream project come true. However, while it is possible to tackle a DIY approach in this case, the hardscape business is filled with technical methods that one should be aware of before starting anything.
Well, this article is for you! Learn how to install permeable pavers the right way – and all the specifics behind this investment.
Alternatively, you can also read our overview on permeable pavers by clicking here.
What are permeable pavers?
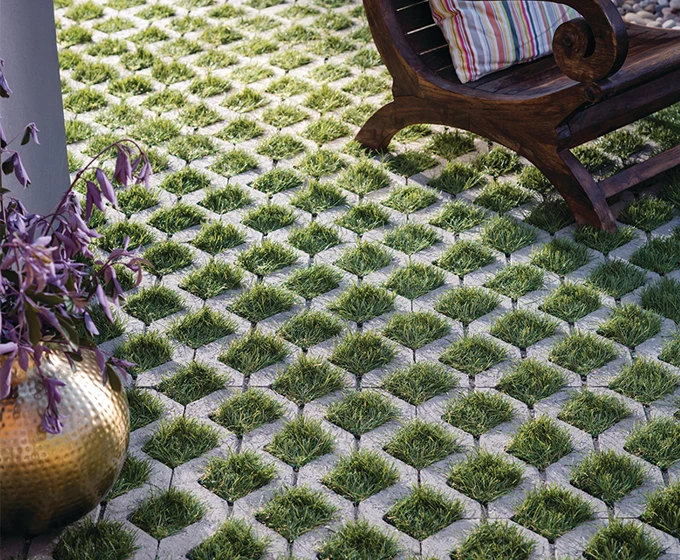
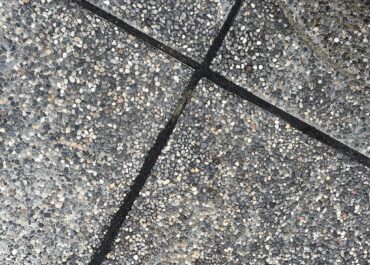
Permeable pavers, also known as porous interlocking concrete pavers, are products designed to allow water to infiltrate through their surface and into the underlying soil. Belgard, a renowned manufacturer in the American hardscape industry, offers a wide range of permeable pavers that have set a benchmark for quality and performance, serving as the main provider of the product.
Unlike traditional pavement surfaces – which are impermeable and often contribute to stormwater runoff – these paving stones help manage stormwater by allowing rainwater to infiltrate into the soil, where it can be naturally filtered and replenish groundwater supplies. They feature gaps or spaces between the individual units, allowing outdoor residues to flow through them and preventing unnecessary floods and erosion altogether, especially in rainy states.
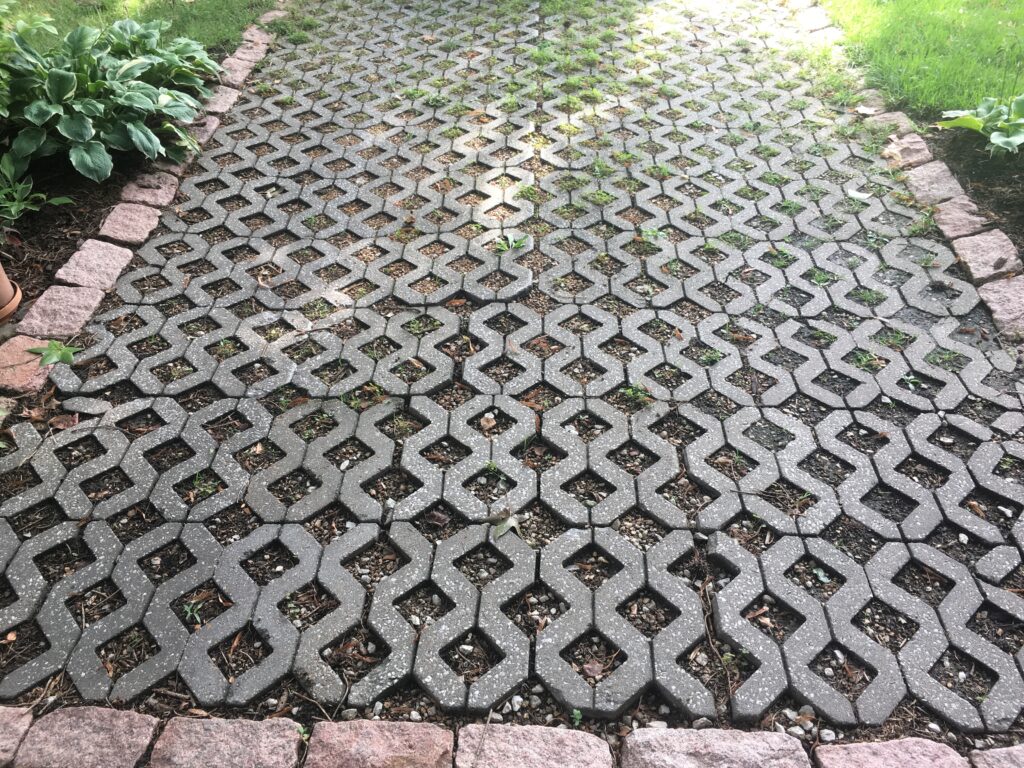
These pavers are often installed over a bed of gravel or another aggregate material, which further facilitates infiltration and helps support the groundwork structure. Some other advantages include:
- Permeable pavers absorb less heat than traditional pavement surfaces, which can help to reduce the urban heat island effect and lower ambient temperatures in urban areas.
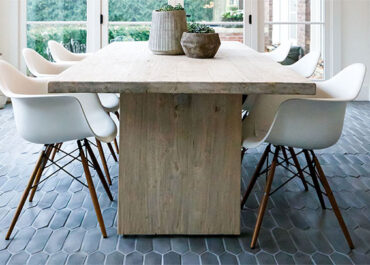
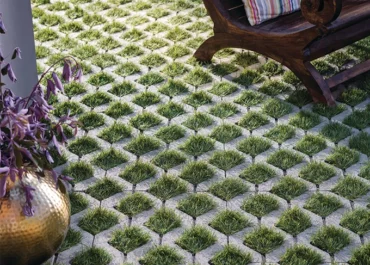
- Permeable pavers are available in a variety of colors, shapes, and textures, allowing for creative and visually appealing pavement designs that can enhance the aesthetic appeal of outdoor spaces.
Overall, as previously mentioned, permeable pavers offer a sustainable and environmentally friendly alternative to traditional pavement surfaces, providing both practical and aesthetic benefits for a wide range of applications, including driveways, walkways, patios, and parking lots.
Read as well: Permeable Driveway Pavers – Are They Any Good?
How to install permeable pavers: important preliminary considerations
Mastering the art of permeable paving installation is a valuable skill in modern construction and landscaping – but that involves a lot of dedication. If you want to learn how to install permeable pavers, it’s pivotal to understand some factors of prep work, such as:
Site assessment and planning
Evaluate the site to determine the suitability of permeable pavers – consider factors such as soil type, drainage patterns, slope, and proximity to buildings or utilities. You must then excavate the area to the required depth, typically 12 to 18 inches (30 to 45 cm) below the finished grade, to accommodate the layers of aggregate and pavers.
Geotextile fabric
Lay geotextile fabric over the compacted aggregate subbase. Geotextile fabric helps to prevent the migration of fines from the underlying soil into the aggregate layers, which could clog the system and impede water infiltration.
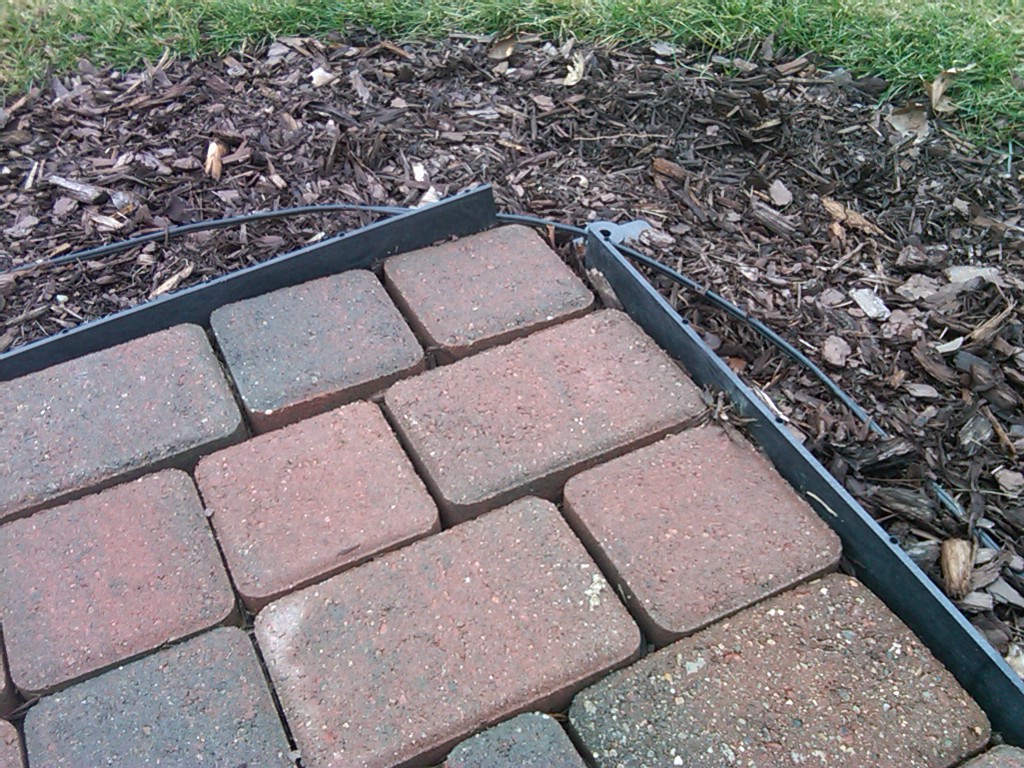
Edge restraints
You must install edge restraints along the perimeter of the excavation area to prevent lateral movement of the pavers; these can be made of various materials, such as plastic, metal, or concrete, and should be securely anchored into the ground.
Tools needed
- Excavation tools (shovels, pickaxes, excavators)
- Compaction equipment (plate compactor, hand tamper)
- Leveling tools (string lines, laser levels, screed boards)
- Cutting tools (diamond blade saw, paver splitter)
- Edge restraint materials and installation tools (stakes, mallet, screws)
- Geotextile fabric
- Safety equipment (gloves, safety glasses, dust mask)
How to install permeable pavers: 10 important steps
Now that you have a brief idea of the complexity of such a task, maybe it’s time to consider hiring professionals to install the pavers for you. Unless you have previous knowledge and concrete experience within the hardscape business, experts can guarantee a nice project all the way through and leave you with something that can last for ages without compromises.
Nonetheless, if you still want to learn how to install permeable pavers, check out the following steps we’ve set apart to guide you.
STEP 1: Collect data
Before beginning the installation process, gather relevant information about the site, including soil type, drainage patterns, and existing utilities. This data will help determine the appropriate design and materials for the permeable pavement system.
STEP 2: Excavate the area
Excavate the area to the required depth, typically 12 to 18 inches (30 to 45 cm) below the finished grade, using excavation tools such as shovels, pickaxes, or excavators. Remove any existing pavement or vegetation to create a clean and level surface for installation.
STEP 3: Install geotextile, impermeable liners, and drain pipes
Lay geotextile fabric over the excavated area to serve as a separation barrier between the underlying soil and the aggregate layers. This helps to prevent the migration of fines and ensures proper drainage.
Install impermeable liners along the perimeter of the excavation area, if necessary, to contain water within the permeable pavement system.
If required by local regulations or site conditions, install perforated drain pipes along the base of the excavation area to facilitate drainage and prevent water buildup.
STEP 4: Prepare sub-base
Install a base layer of aggregate material, such as crushed stone or gravel, with a depth of 6 to 12 inches (15 to 30 cm). Compact the aggregate subbase thoroughly using compaction equipment like a plate compactor or hand tamper to achieve stability and proper drainage.
STEP 5: Install edge restraint
Place edge restraints along the perimeter of the excavation area to prevent lateral movement of the pavers. Securely anchor the edge restraints into the ground using stakes, a mallet, or screws to create a stable boundary for the pavement system.
STEP 6: Lay base
Spread and level a layer of coarse aggregate, such as No. 2 stone or gravel, over the compacted subbase to create a stable and permeable base layer for the pavers. Ensure proper compaction and grading to achieve the desired slope for drainage.
STEP 7: Add bedding course
Spread a thin layer of fine aggregate, such as coarse sand or stone dust, over the base layer to create a smooth and level surface for laying the pavers. Screed the bedding course to achieve uniform thickness and proper slope for drainage.
STEP 8: Install pavers
Place the permeable pavers in the desired pattern or design over the prepared bedding course. Use string lines, laser levels, or screed boards to ensure proper alignment and spacing between the pavers. Cut pavers as needed to fit around edges or obstacles using cutting tools like a diamond blade saw or paver splitter.
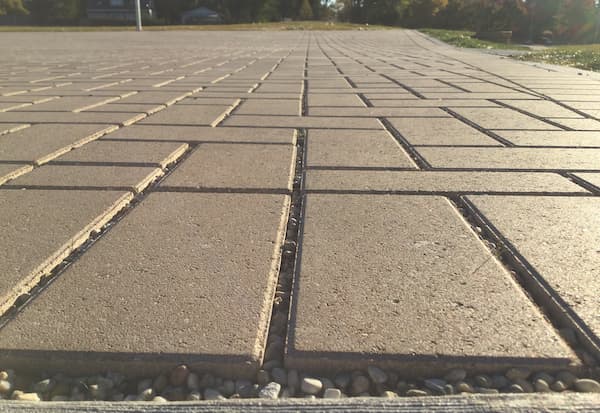
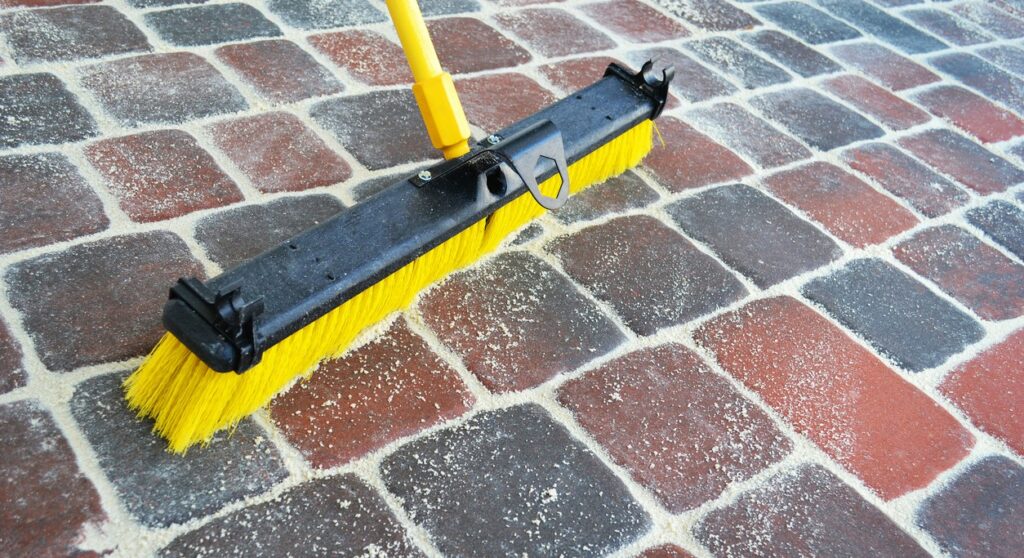
STEP 9: Fill paver joints
Once all the pavers are laid, fill the joints between them with jointing material, such as fine aggregate or polymeric sand, using a broom or brush to sweep the material into the gaps. Compact the pavers gently to ensure the jointing material settles evenly and securely.
STEP 10: Post-installation
Inspect the completed permeable pavement system for any defects or irregularities. Make any necessary adjustments or repairs to ensure proper functionality and appearance. Provide maintenance instructions to the property owner, including recommendations for regular cleaning, inspection, and joint replenishment as needed.
3 common problems and their solutions
Some challenges post-installation include uneven surfaces, water pooling, and weed growth between joints. See how to overcome each hardship:
- Uneven Surfaces: Sunken or raised pavers can be lifted, and additional bedding material can be added or compacted to restore a level surface. To relevel, use leveling tools such as a screed board or leveling device to ensure that the bedding material and pavers are properly graded and compacted during installation and maintenance.
- Water Pooling: The recommended slope is typically 1-2% to encourage water to flow towards designated drainage points or permeable areas; you should regularly inspect and maintain any drainage pipes or channels incorporated into the pavement system to ensure they are free from obstructions and functioning properly. Clear away any debris or sediment that may accumulate over time to maintain optimal drainage performance.
- Weed Growth Between Joints: You should always use polymeric sand or other jointing materials specifically designed to inhibit weed growth between paver joints – since it hardens when activated with water, forming a solid barrier that prevents weed seeds from germinating and taking root. Other than that, remove any weeds manually or with the use of environmentally friendly herbicides to prevent them from establishing a foothold and spreading. Do not burn them!
You may also like: How to cool pavers during the summer
Professional guidance is always the way to go!
As much as a DIY approach may pay off, the actual steps to achieving the best possible result require loads of expertise, calculations, and techniques. That’s why we always recommend going for a professional installation instead – from a team that knows exactly how to deal with the situation.
That said, you can never go wrong when adding any model of Belgard pavers to your project. The array of options and consistency in quality make these paving stones the best on the market – so the next step is to contact one of the many authorized dealers the company has across the US.
And, you see, Eagle Pavers is one of those authorized dealers – on top of that, our team offers the best installation, maintenance, and sealing services around the Sarasota & Manatee Counties, in FL. Don’t hesitate to call us at +1 941-210-4192 or email us at sales@eaglepavers.us.
We’ve been working with Belgard pavers for many years with a high degree of customer satisfaction. So contact us – we’ll be happy to assist you in any paver need you might have.
Polymeric Sand Colors: 7 Tips to Choose
Polymeric sand is a building hardscape material used in the spaces between paving stones in…
A guide to indoor pavers in home design
Who says that paving stones can’t be implemented into interior decoration? Despite their outdoor nature,…
How to Install Permeable Pavers in 10 Steps
Among the many types of paving stones available for hardscape design, permeable pavers have been…