Hardscape maintenance is a cause of concern for many. It is pretty hard, after all, not to find a paver project somewhere in the average American neighborhood; be it a patio, a driveway, or even a public sidewalk, chances are that pavers have been a part of your life in some way or another. As they age, however, their appearance changes considerably – and in the worst-case scenario, you’ll most likely have to switch faulty pieces for new ones. Thinking about that, we’re here to teach you how to redo pavers the right way.
Keep reading the article to find out! Or, if you’re currently browsing for specific paving stones for your house, check out our online catalog to be enlightened.
Jump to
Why do we need to keep an eye out for old pavers?
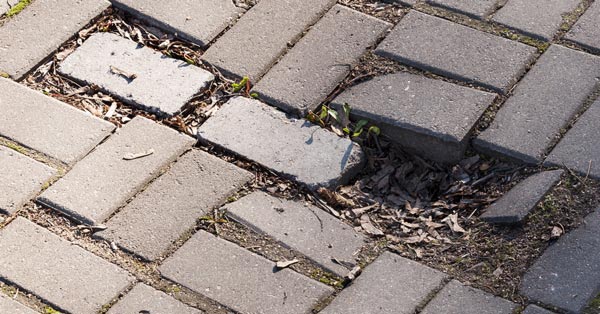
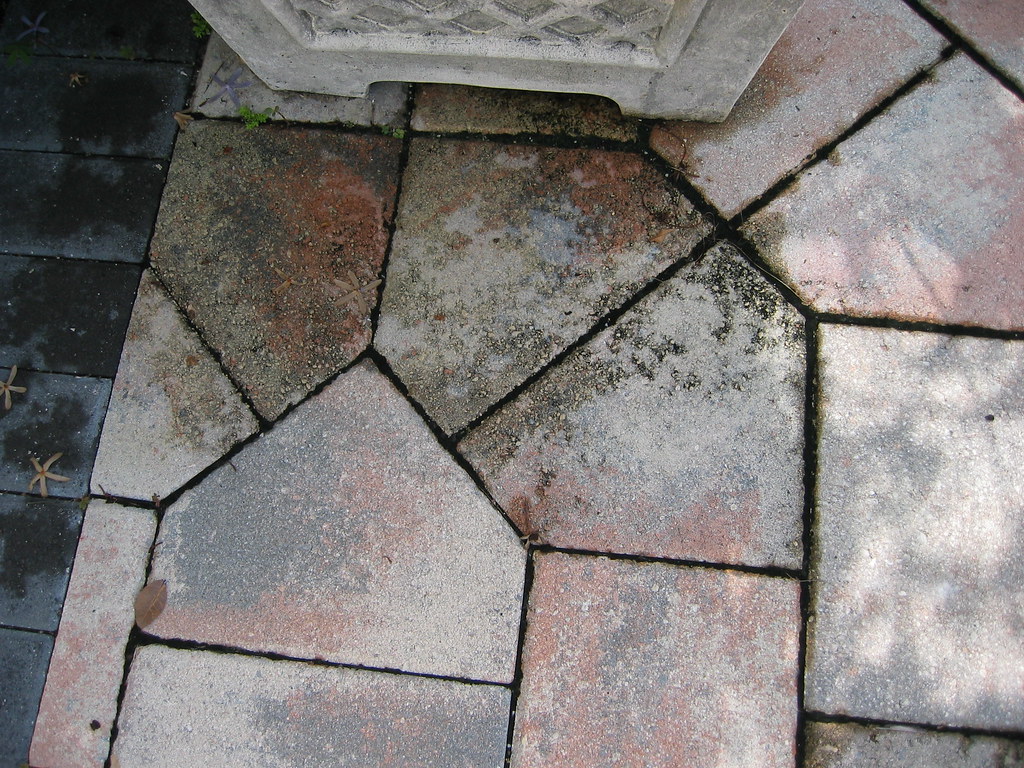
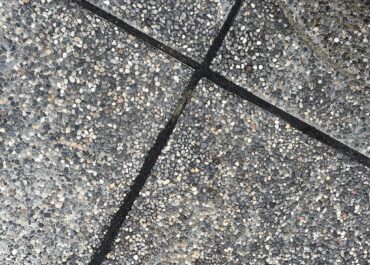
All in all, old pavers can be spotted from afar – and despite their unpleasing aesthetics, they may even impose danger to a passerby.
You see, extending the lifetime of paving stones takes periodic cleaning and, at least twice a year for non-porous surfaces, sealing. (Read all about coats of sealer here.) However, given how most projects are installed outdoors, people don’t tend to pay much attention to eventual discoloration, stains, and cracks that these products are vulnerable to.
It may also be useful: Can You Change the Color of Paver Stones?
But why does that happen in the first place?
Well, when exposed to weather conditions such as rain, snow, and hot summer air, it’s completely natural for any kind of paver project to dip or, in most cases, slightly sink into itself. As the earth moves and the underground waters flow, some pavers will shift around the soil and cause curvatures in what once was flat.
Not only that but if we’re talking about pathways in particular – for vehicles and people alike – this occurrence will be nothing short of common. Although made for that very purpose (their durability over the years speaks for itself), heavy traffic on the surface will show its signs in the long run.
So you can imagine how precarious some projects can turn out when left unattended for decades, right? As we said at the beginning, apart from leveling them out, it’s possible you’ll have to substitute a few pavers out of the bunch that are just too old.
Read also: Paver Size Chart – Commercial Uses and Suggestions
How to redo pavers: step-by-step
To level out your pavers, you’ll need the following items:
- Broom
- Trowel
- Screwdriver
- Rubber hammer
- A straight piece of lumber (2”x4”)
- Two steel pipes (3/4”)
Preferably, the pipes should be a little shorter than the width of your project. Buying a few bags of sand can come in handy as well since there could be a shortage of its supply at the worksite. Once you have everything in your hands, it’s time to fix the floor!
Removing piece by piece
Taking out the first faulty paver becomes easier by using the screwdriver and rubber hammer to get a hold of its sides. That way you can create gaps between each unit and see which parts are more vulnerable.
Start from a corner or edge; carefully lift the stone from the floor. Work your way out until all the units have been transferred to your staging area.
At this point, you should already set the good pavers apart from the bad ones. Buy as many identical pavers as you feel necessary to renew your leveling.
Filling it up with sand
With the whole site clean of pavers, it is time to add sand to the problematic spots. A wise tip here: do not add the sand all at once, because you will need some later. Be sure to take care of all uneven soil you can clearly see.
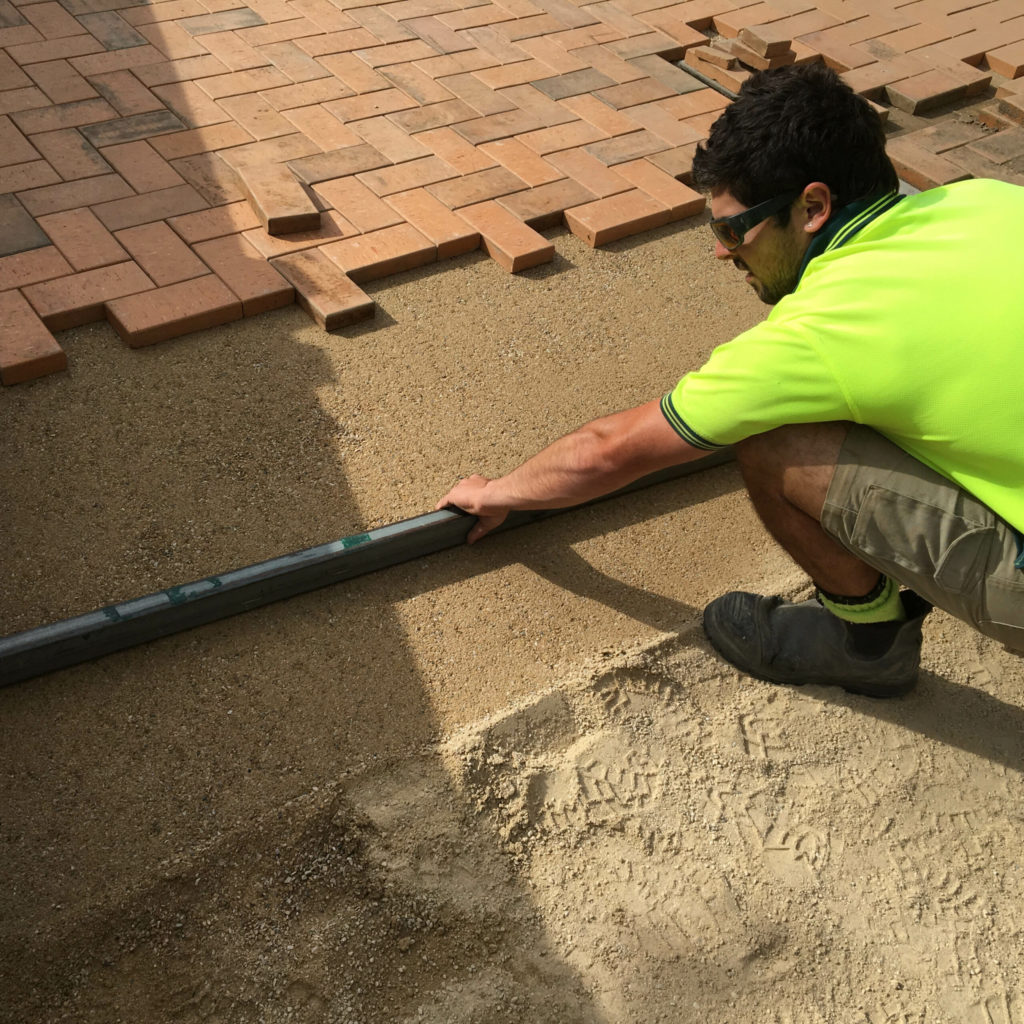
Leveling out the surface
This is a tricky step, but totally doable if done patiently. Take your steel pipes and place them in the sand; they should have a slight angle downwards towards the edge for drainage. After that, place your piece of lumber to start leveling out the sand, and use the pipes as guides. If needed, add more sand as you go along.
The trowel here is valuable – you can use it to level out the nooks and crannies missed out by the piece of lumber.
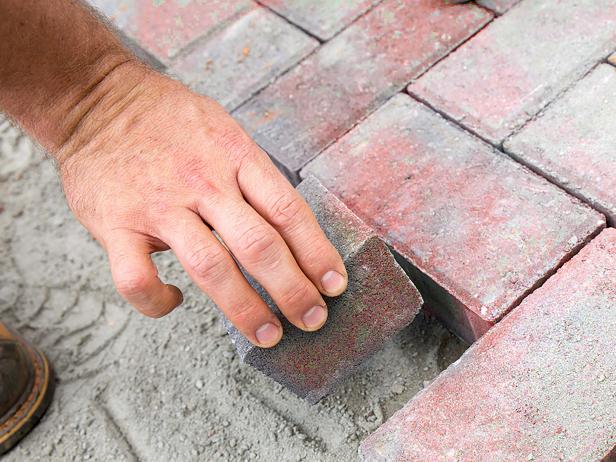
Replacing old stones
Once the soil is all even and flat again, your pavers are going back to business. Whether you bought some new ones or not, stack up each piece to a side close to you and get comfortable.
Once again, begin this process from one of the corners. Lay the paving stones onto the sand, ensuring that they are right up against each other until you’ve refilled the whole area.
Sweeping the cracks
The finishing touches are made from the leftover sand that we said you should save. You see, the joints between each paver are still going to be open, so you need to take care of that if you want to “seal” the floor.
In order to prevent anything from entering, fill the gaps with sand and use the broom to spread it over. Repeat this step until you clearly see the expected results.
Long-term solutions
In the end, taking proper care of your site is the key to a long-lasting investment. If you do everything listed in this guide (sealing included), your pavers will be as vigorous as they can get – so make sure to check on them at least twice a year and have the needed tools at your disposal. This way you can even prevent moss and other residues from ever appearing.
Also, the proper arrangement of your area is of utmost importance. It’s crucial to lay them on a bed of compacted gravel or coarse sand – and some projects are so old that the whole structure might need a revamp.

Eagle Pavers is here to help out!
The whole process might sound complex, we know – especially when you consider all the time, effort, and dexterity involved. When this level of maintenance is required, the best course of action is to call for professional help – and we recommend you do the same.
In fact, if you live near Sarasota, Florida, why not contact our team of experts? As a branch of Eagle Stones, we offer clients the best hardscape services in town, including supply, transportation, installation, maintenance, and sealing! Get a free quote with us today and enter the world of paving stones with finesse.
We’ll be waiting for you!
Polymeric Sand Colors: 7 Tips to Choose
Polymeric sand is a building hardscape material used in the spaces between paving stones in…
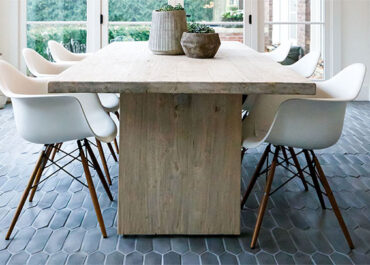
A guide to indoor pavers in home design
Who says that paving stones can’t be implemented into interior decoration? Despite their outdoor nature,…
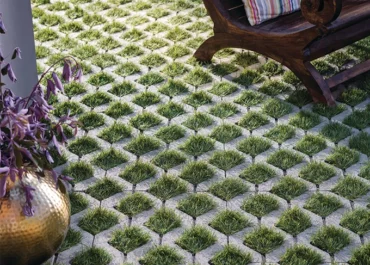
How to Install Permeable Pavers in 10 Steps
Among the many types of paving stones available for hardscape design, permeable pavers have been…