
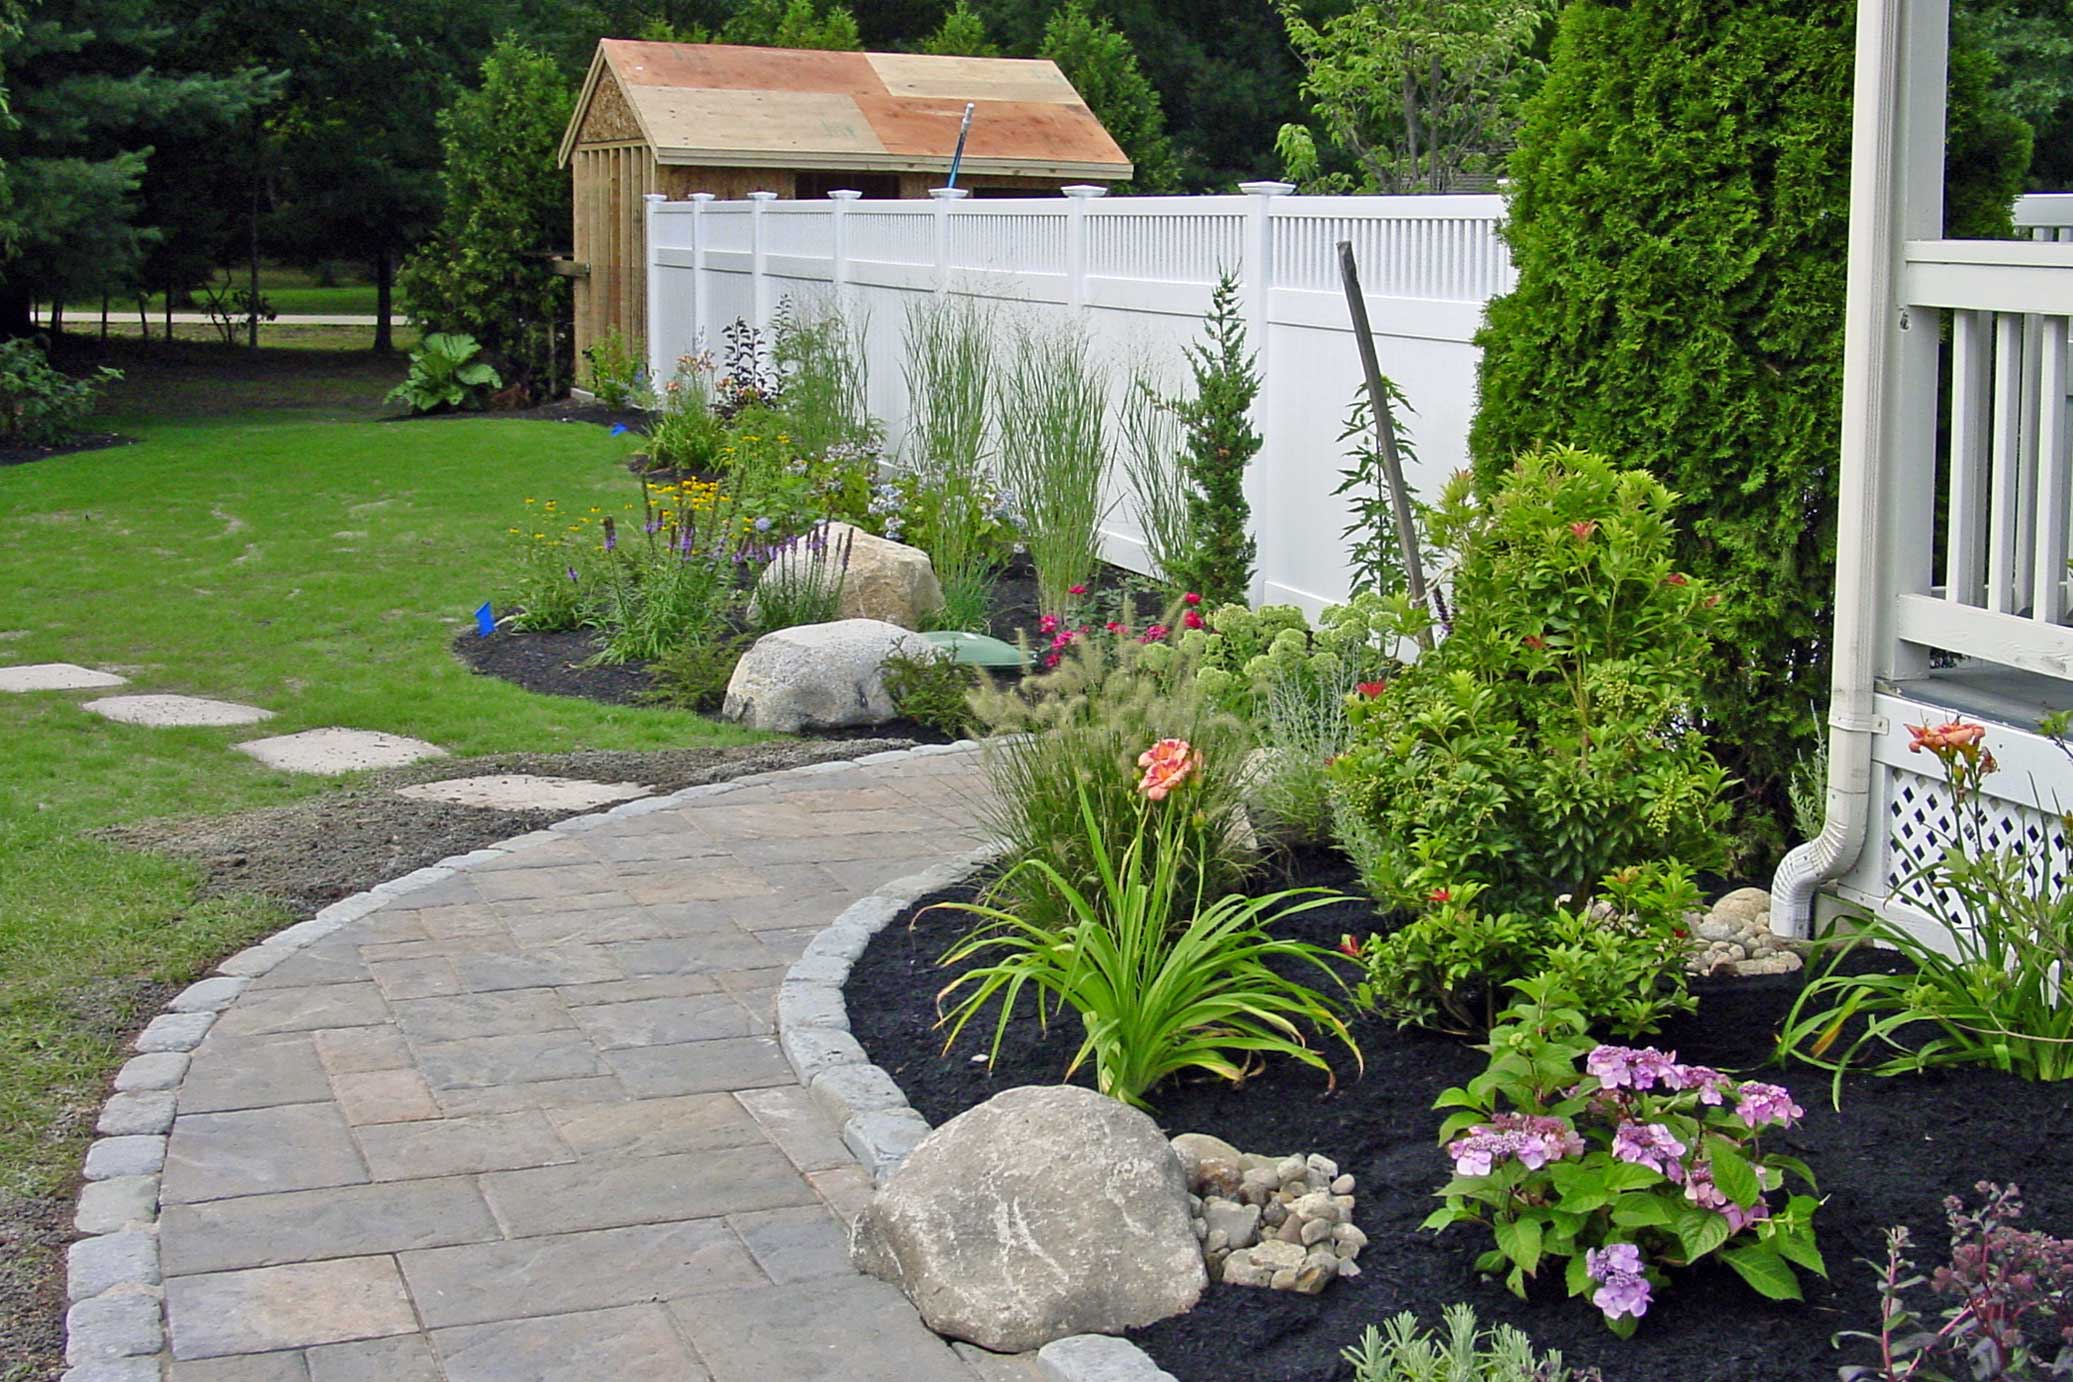
A paver walkway is a pathway made from paving stones, which are typically used in landscaping and construction and can come in many design variations. These walkways are created by arranging the pavers in a specific pattern on a prepared base of sand or gravel. Pavers come in various materials like concrete, brick, stone, or even rubber, offering different aesthetic options to please everyone. So, if you’re a DIY enthusiast, you must often wonder how to lay pavers for a walkway, questioning whether it’s even possible in the first place.
Well, it is – though it requires lots of previous experience and groundwork preparation. In this article, you’ll see a brief tutorial on how to lay pavers for a walkway, so make sure to read until the end before making any hasty decision.
Read as well: Paving prices in 2024 – A hardscape guide
How to lay pavers for a walkway: before you begin
When it comes to conceiving a walkway, pavers are durable and versatile – and can be laid in different patterns, enhancing the visual appeal of outdoor spaces like gardens, yards, or commercial areas, regardless of the material chosen. That said, taking on a DIY paver walkway project can be rewarding, but it’s essential to prepare thoroughly.
Here’s what you should consider before anything:
Planning
- Sketch out your design and measure the area accurately.
- Choose the type of pavers and pattern you want.
- Consider the base preparation, drainage, and edging.
Material and Tools
- Gather all necessary materials: pavers, base materials (sand, gravel), edge restraints, and tools like a shovel, compactor, level, and rubber mallet.
Site Preparation
- Clear the area of debris, plants, and rocks.
- Excavate the area to the required depth (usually 6-8 inches) for the base.
Base and Foundation
- Create a sturdy base with gravel and sand, ensuring proper compaction at each layer.
- Ensure proper slope for water drainage away from structures.
Cutting and Finishing
- You might need to cut pavers to fit the edges or curves. Use a chisel or a specialized paver cutter for this.
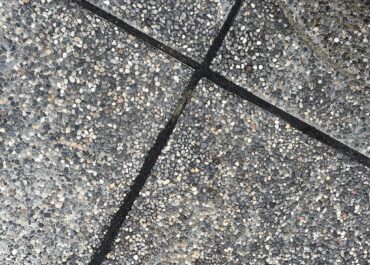
- Fill the gaps between pavers with jointing sand, and compact the surface gently to settle the pavers.
Maintenance
- Regularly sweep and clean the walkway to prevent weeds and debris buildup.
- Check for any unevenness or displaced pavers and fix them promptly.
Safety Considerations
- Wear appropriate safety gear, especially when using tools or working with heavy materials.
- Take breaks and stay hydrated, especially in hot weather.
Permits and Regulations
- Check local regulations, especially if your project involves significant changes to landscaping or if there are specific guidelines for walkway construction in your area.
Budget and Time
- Estimate the costs accurately and allocate time considering the size of the project and your skill level.
Remember – at the end of the day, while a DIY paver walkway project can be satisfying, it requires patience, attention to detail, and physical labor. Don’t hesitate to seek guidance from other tutorials, guides, or experts if you’re unsure about any step along the way.
Professional help for a paver walkway is often a smart choice due to the expertise, efficiency, and quality they bring to the project – we have the experience to handle various complexities, ensuring a polished finish and adhering to high-quality standards. To work efficiently, teams have access to specialized tools and offer warranties on their work, providing peace of mind regarding the project’s outcome. Besides, for intricate designs, larger spaces, or if time is a concern, professionals can efficiently manage these aspects, making such services highly valuable.
Read as well: Concrete walkway ideas with pavers
How to lay pavers for a walkway: Tutorial
If you’re still eager to go for a DIY approach, this is where you’ll learn the basics of laying paving stones for your dream walkway. Just keep in mind that this guide provides a general overview of the process, but specific steps might vary based on the type of pavers and design chosen. Always refer to manufacturer guidelines and local building codes for any specific requirements!
Materials and Tools Needed
- Pavers of your choice
- Gravel
- Coarse sand
- Edging material (optional)
- String and stakes (for layout)
- Shovel
- Rake
- Plate compactor or hand tamper
- Level
- Rubber mallet
- Masonry/chalk line
- Safety gear (gloves, goggles)
Step 1: Planning and Preparation
- Measure the area and sketch out your walkway design. Mark the boundaries using strings and stakes.
- Excavate the area to a depth of 6-8 inches (adjust for paver and base thickness) within the marked boundaries.
Step 2: Base Preparation
- Spread a 2-3 inch layer of gravel and use a plate compactor or hand tamper to compact it evenly.
- Add another 2-3 inch layer of coarse sand over the compacted gravel.
- Use a rake to level the sand, ensuring it’s even and smooth.
Step 3: Install Edging (Optional)
- Install edge restraints along the sides of the walkway (this can be done using plastic, metal, or concrete edging).
- Secure the edging firmly using stakes or by burying it partially in the ground.
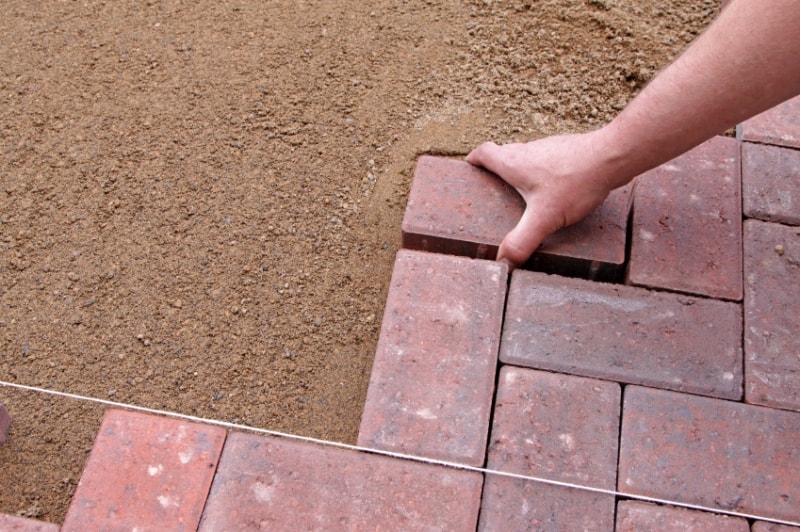
Step 4: Lay the Pavers
- Start at one end of the walkway. Lay the pavers according to your chosen pattern.
- Place each paver gently on the sand bed. Use a level periodically to ensure they’re even.
- Maintain consistent spacing between pavers. Use spacers if needed.
Step 5: Cutting Pavers (if necessary)
- Measure and mark any pavers that need cutting to fit at the edges or around obstacles.
- Use a chisel and hammer, or a specialized paver cutter, to score and break the paver along the marked line.
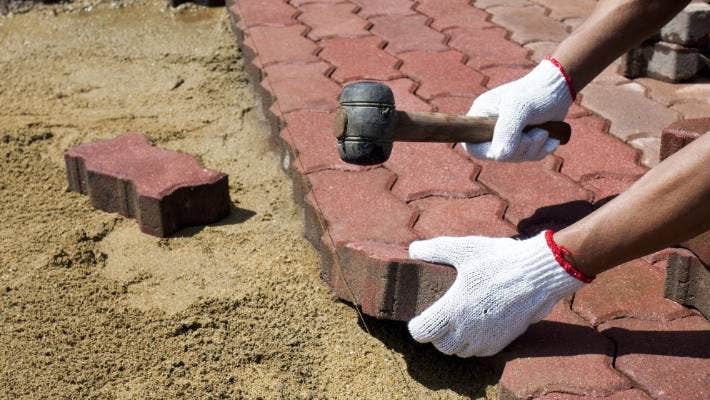
Step 6: Finishing Touches
- Once all pavers are laid, spread fine sand over the surface.
- Use a broom to sweep sand into the joints between pavers.
- Compact the entire surface with a plate compactor or by tapping with a rubber mallet to settle the pavers.
- Add more sand and repeat the compaction process until the joints are filled and the pavers are stable.
Step 7: Final Check and Cleanup
- Use a leaf blower or broom to remove excess sand from the surface.
- Check for any unevenness or misaligned pavers. Adjust as needed.
- Water the walkway lightly to help settle the sand in the joints.
Step 8: Maintenance
- Regularly sweep and clean the walkway, inspecting for any displaced pavers or areas that need re-compacting. Remove weeds as they appear in the joints.
Read all about sealing porous paving stones by clicking here.
Eagle Pavers is ready to make your dream paver walkway come true
As a branch of Eagle Stones, our team specializes in paver supply and installation around the county of Sarasota and Manatee, Florida. In case you’re near us, don’t hesitate to give us a call so we can get started on your project with a free estimate!Click here to view the full online catalog – we’ll be waiting for you to reach out and get the perfect pavers for your walkway, regardless of the material chosen.
Polymeric Sand Colors: 7 Tips to Choose
Polymeric sand is a building hardscape material used in the spaces between paving stones in…

A guide to indoor pavers in home design
Who says that paving stones can’t be implemented into interior decoration? Despite their outdoor nature,…
How to Install Permeable Pavers in 10 Steps
Among the many types of paving stones available for hardscape design, permeable pavers have been…