Paver steps refer to stairs or elevated sections constructed using pavers, typically in outdoor spaces like patios, gardens, or pathways. These steps are built by arranging and installing pavers in a stair-like formation to create a functional and visually appealing transition between different levels or terrains.
Paver steps can embellish pretty much any corner of your home or office building, serving as the focal point in many ascending floor structures. Keep reading this article to find out how to plan for paver steps!
Don’t miss: The Beauty of Indoor Brick Pavers in Home Design
Jump to
What to know about paver steps
Paver steps can be made from various materials like concrete pavers, brick pavers, natural stone, or even specially designed step units made explicitly for creating steps. They offer a cohesive and durable solution for ascending or descending levels in a landscape or hardscape design.
Paver steps can be designed in various styles, incorporating different patterns, colors, and textures to complement the overall landscaping or architectural design of the space. They serve both functional and aesthetic purposes, providing safe and easy access while enhancing the visual appeal of outdoor areas.
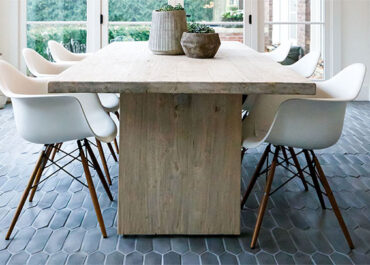
Needless to say, paver steps can be built with virtually any material. The main paving stones on the market today include porcelain, concrete, bricks, and travertine, each sharing qualities and drawbacks that may influence your buying choice.
Paver steps: design ideas
As mentioned, paver steps can offer both functional and aesthetic value to your outdoor space. That’s why you should carefully consider every option beforehand – it’s supposed to be a lifelong investment, so professional guidance is never enough here.
By any means, when designing your paver steps, keep in mind the overall landscape design, the architecture of your home, and the surrounding environment. Play with different shapes, colors, and textures to create a design that complements your style and enhances the beauty of your outdoor space. Here are some creative design ideas we’ve stored for you:
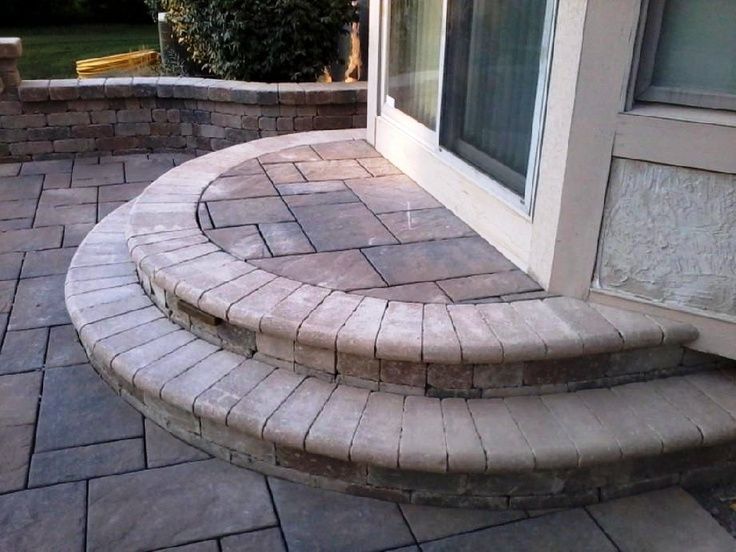
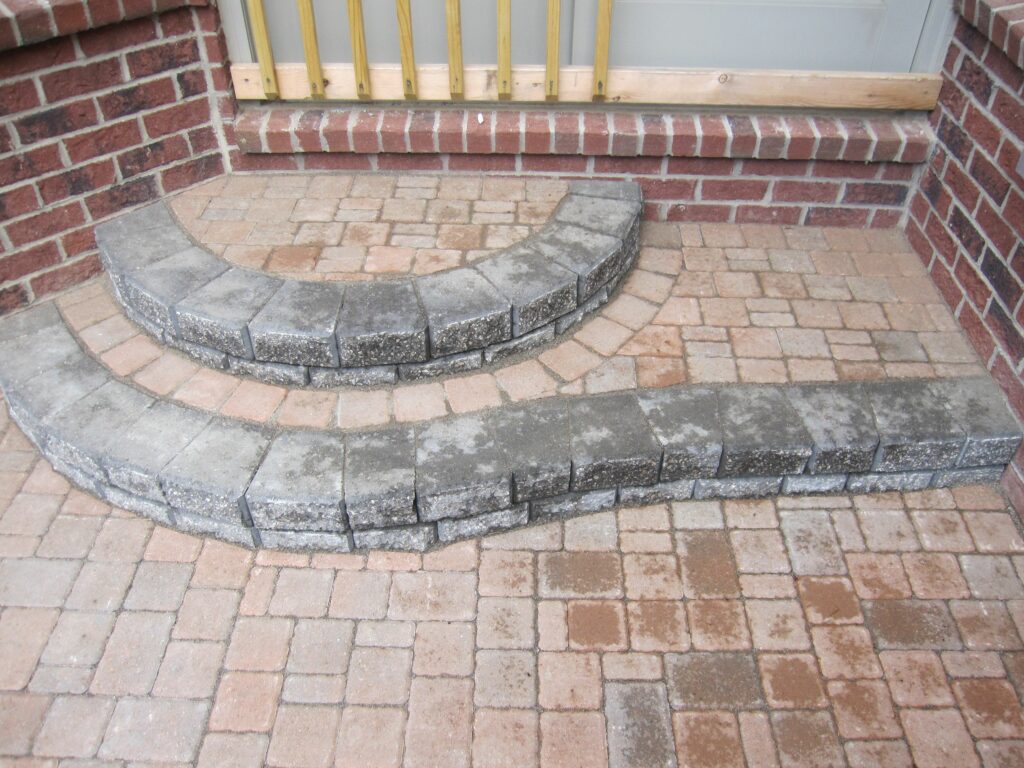
- Curved Steps: Instead of straight lines, create gently curved or winding steps. Curved designs can add a softer, more organic feel to your landscape.
- Mixed Materials: Combine different types of pavers or materials to create contrast. For example, use a combination of stone and brick or mix different colors of the same material for a unique pattern.
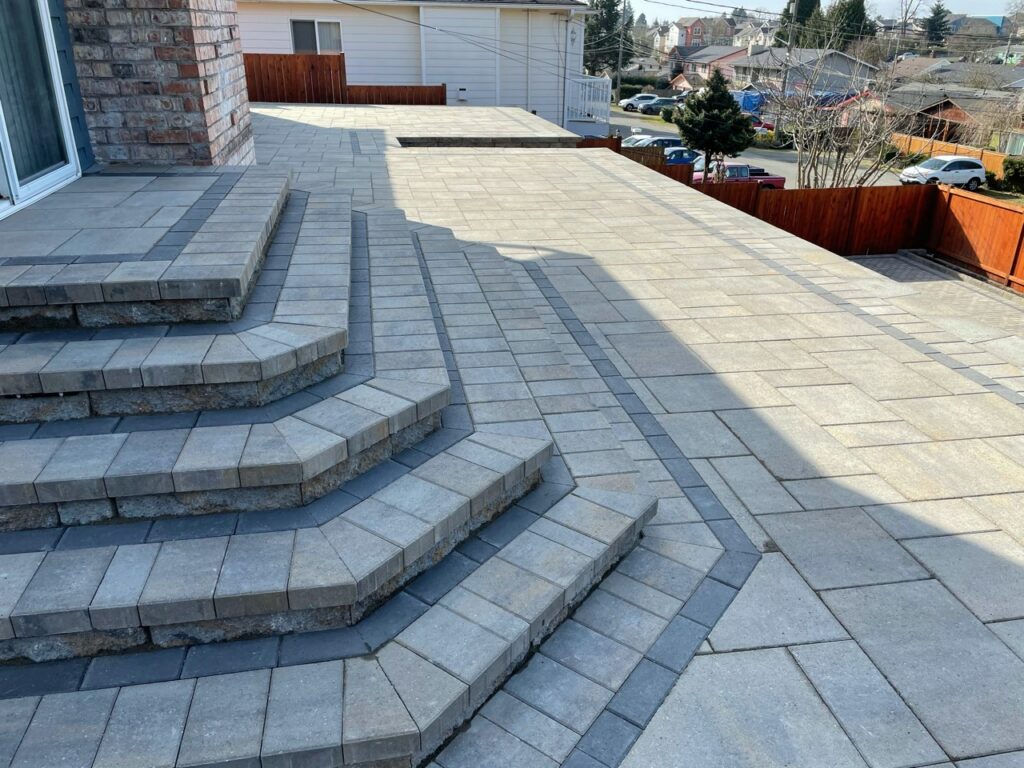
- Tiered Steps: Create multiple levels or tiers of steps for a more dramatic effect. Each tier can have its pattern or material, adding visual interest.
- Inset Lighting: Install low-voltage LED lights within or along the sides of the steps for added safety and ambiance, especially in the evening.
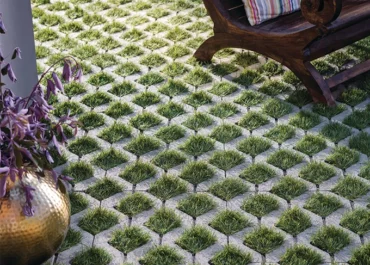
- Integrated Planters: Incorporate planter boxes or spaces within the steps to add greenery. Planting flowers, small shrubs, or herbs within the steps can enhance their beauty.
- Mosaic Patterns: Use smaller pavers to create intricate mosaic patterns or designs within the steps, adding a decorative touch.
- Floating Steps: Design steps that appear to float or hover by leaving spaces between each step. This modern and minimalist design can be visually striking.
- Contrasting Borders: Frame the edges of the steps with contrasting pavers or materials to create a definition and highlight the steps’ outline.
- Natural Stone Accents: Use natural stones strategically placed within the steps to create a rustic or natural look, adding texture and interest.
- Sculptural Elements: Finally, incorporate sculptural elements or unique shapes into the steps. For instance, rounded edges or irregular shapes can add a contemporary feel.
How to install paver steps
Paver steps can be done as a DIY project – especially for smaller-scale installations – but only if you’re comfortable with manual labor and have some experience with basic landscaping or construction tasks. Larger or more complex projects might really benefit from professional services.
Materials and tools needed
- Pavers of your choice
- Base material (gravel, crushed stone, or sand)
- Landscape fabric (optional)
- Tamper
- Level
- Tape measure
- Shovel
- Masonry saw (if cutting pavers is necessary)
- Safety gear (gloves, goggles)
- Edge restraints (optional)
- Jointing sand or gravel
- Concrete adhesive (if needed)
Planning and Design
- Measure the area and plan the layout and design of the steps. Consider the rise (height) and run (depth) of each step.
- Decide on the type, size, and pattern of pavers you’ll use.
Prepare the Site
- Mark the area where the steps will be installed. Clear the area of vegetation, debris, and any obstacles.
- Excavate the marked area to the depth required for the base and the height of the steps. Ensure a slight slope away from structures for proper drainage.
- Compact the soil using a tamper to create a stable base.
Base Preparation
- Add a base material (gravel or crushed stone) in layers, compacting each layer with a tamper. Ensure proper compaction to create a stable foundation for the steps.
- Optionally, lay landscape fabric over the base to prevent weed growth.
Install the First Step
- Start at the lowest point or the base of the stairs. Lay the first row of pavers horizontally as the base of the steps. Use a level to ensure they are even.
Build Upward
- Add subsequent rows of pavers on top, staggering the joints to create a stable structure. Use a level after placing each row to maintain evenness.
- Cut pavers if necessary using a masonry saw to fit the design and size requirements.
Secure the Pavers
- Apply concrete adhesive between layers if desired, especially for taller steps or if you want extra stability.
- Optional: Install edge restraints along the sides of the steps to keep the pavers in place.
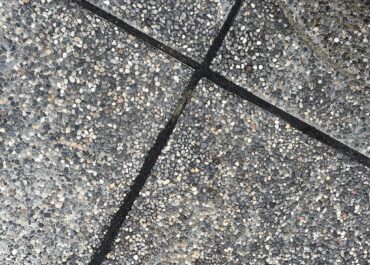
Fill Joints and Finishing
- Fill the joints between pavers with jointing sand or gravel. Sweep the material into the gaps and compact it gently to ensure stability.
- Apply a sealer to the pavers if desired, following the manufacturer’s instructions.
Final Check
- Use the level to check the overall alignment and stability of the steps.
- Walk on the steps to ensure they feel secure and level.
Remember to follow local building codes and regulations; again, if you’re not confident in your ability to complete the installation, it might be wise to hire a professional team near you. Although this guide provides a general overview, specifics can always vary based on the design, materials used, and the site’s conditions.
Ultimately, the decision between DIY or professional services depends on your comfort level, the scale and complexity of the project, available time, and budget. If uncertain, consider consulting with professionals for advice or estimates, which might help you decide whether to pursue the project yourself or hire experts.
And speaking of experts you can count on…
Contact Eagle Pavers to start planning your paver steps!
Are you planning to conceive a hardscape project, then? If you live near Sarasota, Florida, don’t hesitate to call our expert team for a free estimate! As a branch of Eagle Stones, our team provides clients with top-notch products (check out the online catalog here) and installation services that are sure to fit your needs.
It might also interest you: How to Calculate Square Feet for Pavers
Polymeric Sand Colors: 7 Tips to Choose
Polymeric sand is a building hardscape material used in the spaces between paving stones in…
A guide to indoor pavers in home design
Who says that paving stones can’t be implemented into interior decoration? Despite their outdoor nature,…
How to Install Permeable Pavers in 10 Steps
Among the many types of paving stones available for hardscape design, permeable pavers have been…