If you’re here, chances are you want to tackle a paver coping project from a DIY angle. Well, there’s nothing wrong with it; of course, only if you’re not a beginner. Any hardscape installation requires meticulous handwork and previous expertise, after all, and the logistics involved aim to create a study floor structure that will last for decades. Trivial mistakes could seriously compromise your investment, so it’s best to avoid them altogether by hiring a professional team. Either way, you’re probably still wondering if there’s an easy way to learn how to lay pool coping pavers by yourself.
Well, keep reading the article for a brief tutorial you can use as the foundation for planning your next pool project. Or, in case you’d like a complete guide on coping pavers, click here.
Jump to
What are pool coping pavers?
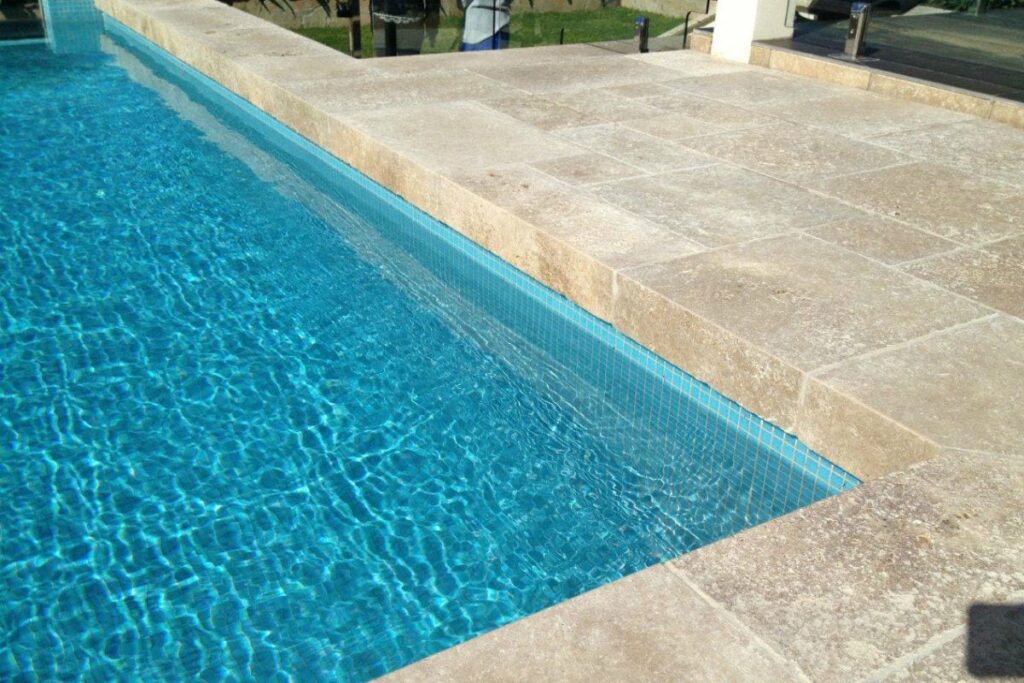
In short, pool coping pavers are specialized paving stones designed to cap the edge or perimeter of a swimming pool, serving both functional and aesthetic purposes.
Functionally, these products cover the top edge of the pool structure, creating a finished and protective edge. In the long run, they help prevent water from seeping into the pool’s foundation and act as a barrier to keep out debris and foreign materials. Additionally, they provide a safe and slip-resistant surface for people entering and exiting the pool.
Aesthetically, coping pavers come in a variety of materials – travertine, concrete, porcelain, and bricks being the main ones – colors, shapes, and textures, allowing you to choose a style that complements the overall design of your pool deck. Of course, the choice of coping material can significantly impact the visual appeal of your project, as well as its cost.
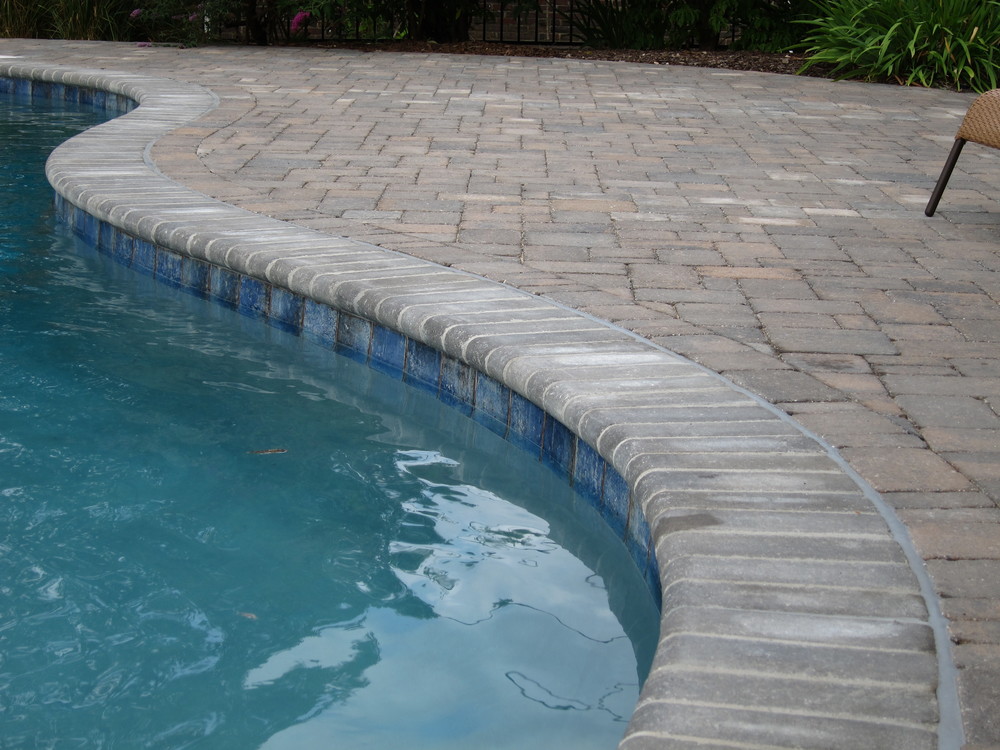
Comfort is also a major selling point of coping pavers – as the edges are often designed to be comfortable to sit on while having quality time in the water, thus making them popular for poolside lounging and relaxation. Some classic additions have a rounded or bullnose edge to enhance comfort and safety.
Maintenance is relatively straightforward, with coping pavers being resistant to water and weathering and easily cleaned with a hose or pressure washer (read more about it in this article). Depending on the material of choice, regular maintenance may involve sealing the pavers to keep them in good condition.
How to lay pool coping pavers
Just like anything in the hardscape business, proper installation is crucial to ensure the durability and functionality of your pool for years to come. And as we mentioned before, this is a task whose execution must be handled with care – so even if you are a DIY enthusiast, be sure to consider getting professional services beforehand.
Ideally, the coping pavers should be securely attached to the pool structure and leveled to create a smooth, even surface. Safety is always paramount, and many varieties of coping pavers have textured surfaces or anti-slip features to reduce the risk of accidents around the pool area, which is a high point if there are kids or elderly in the household.

Below, you can read a step-by-step tutorial on how to lay pool coping pavers:
Materials and tools you’ll need
- Pool coping pavers;
- Mortar mix (appropriate for your paver material);
- Trowel;
- Level;
- Rubber mallet;
- Measuring tape;
- String lines;
- Chalk or marker;
- Safety equipment (gloves, safety glasses).
Step 1: Preparing the pool edge
- Clean the top edge of the pool thoroughly to remove any dirt, debris, or existing coping materials.
- Ensure that the pool edge is level and that any irregularities or unevenness are addressed before starting.
Step 2: Planning the layout
- Decide on the pattern and orientation of the coping pavers. You can choose between a straight edge, bullnose, or other decorative profiles.
- Use string lines and chalk or markers to establish guidelines for the placement of the pavers. These lines will help you maintain a straight and uniform alignment.
Step 3: Mixing mortar
- Follow the manufacturer’s instructions to mix the mortar to the appropriate consistency for your coping paver material.
Step 4: Apply mortar
- Apply a layer of mortar to the top edge of the pool using a trowel. This layer should be thick enough to support the weight of the coping pavers but not so thick that it oozes out between the pavers when they are set.
Step 5: Set the coping pavers
- Carefully place each coping paver onto the mortar bed along the pool edge, following the layout guidelines you established earlier.
- Then, use a rubber mallet to gently tap each paver into place, ensuring they are level with one another and aligned with the string lines.
- Check the alignment and level of each paver as you go along. Adjust the position and tap down any high spots.
Step 6: Spacing
- Leave a small gap (usually about 1/8 inch) between each coping paver for grout. Use plastic spacers to maintain consistent spacing.
- Mix grout according to the manufacturer’s instructions and fill the gaps between the coping pavers with grout. Smooth the grout with a grout float.
Step 7: Cleaning
- Clean off any excess mortar or grout from the pavers’ surfaces while it is still wet.
- Allow the mortar and grout to cure for the recommended time, which can vary depending on the product and weather conditions. Typically, it takes a few days.
Step 8: Sealing
- After the mortar and grout have fully cured, consider applying a sealer to the coping pavers (except if they are non-porous, such as porcelain, because that will make them very slippery). The sealer helps protect the pavers from staining and enhances their shiny appearance.

Nonetheless, it’s essential to follow the specific instructions provided by the manufacturer of your coping pavers and mortar mix, as materials and methods can vary. Once again, consider consulting with a professional if you are not experienced with masonry work, as improper installation can lead to structural issues and a less-than-ideal finish.
When to use pool coping pavers
Although coping is not an absolute must for every pool project, it is highly recommended for the many important reasons we’ve seen throughout the article. That said, there may be some situations where it could be nobly omitted.
For instance, in more naturalistic pool designs – such as natural swimming pools or ponds – coping may not be used, as to create a seamless transition between the water and the surrounding environment. Additionally, some outdoor designs with specific architectural features may opt for alternative edge treatments instead.
Ultimately, whether or not to include pool coping in your project depends on your design preferences, budget, overall aesthetic, and functional goals for your backyard. If you decide to omit paver coping, it’s essential to work with a qualified pool builder or designer to ensure that the pool’s edge is properly constructed and protected to maintain structural integrity and safety.
And speaking of qualified experts…
Get yourself the best coping pavers for pools at Eagle Pavers!
Now that you know how to lay pool coping pavers, maybe you’re convinced that the task at hand is best left to hardscape experts. At the end of the day, they carry all the necessary equipment and the right techniques to make your dream pool into reality without fuss.
As a branch of Eagle Stones, our hardscape professionals are ready to help you with anything. We’ve been serving the city of Sarasota and all its surrounding counties for years now – and not only do our clients receive high-quality products from a vast catalog but see firsthand their dream project come true with the best installation services in town.
So don’t hesitate to contact our crew today! We can adorn any outdoor space with the perfect pavers, turning it into your private oasis with or without a pool.
Polymeric Sand Colors: 7 Tips to Choose
Polymeric sand is a building hardscape material used in the spaces between paving stones in…
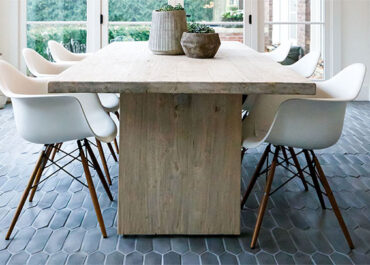
A guide to indoor pavers in home design
Who says that paving stones can’t be implemented into interior decoration? Despite their outdoor nature,…
How to Install Permeable Pavers in 10 Steps
Among the many types of paving stones available for hardscape design, permeable pavers have been…