Travertine pavers, revered for their natural beauty and durability, are an excellent choice for elevating the visual appeal of your outdoor areas. Whether you’re aiming to create a captivating patio, an inviting walkway, or a luxurious pool deck, travertine pavers offer a range of design possibilities that can enhance your hardscape project.
In this guide, we will delve into the intricacies of installing travertine pavers at home. Additionally, we will explore the numerous benefits tied to such an investment, discussing the matter of sealing and giving you some professional life tips.
Read as well: Travertine Pavers for a Pool Deck – A Full Guide
How to install travertine pavers: step by step
First of all, any DIY enthusiast out there knows that the logistics behind hardscape projects are not as simple as people make it out to be. Even though most steps are written off as straightforward, laying pavers on the ground requires a keen eye, particularly when it comes to angle calculations, cutting techniques, and edging.
By saying this, we mean that unless you have some previous expertise with heavy manual labor, you’ll most likely face technical limitations, which can compromise the whole structure of your project. Before anything, consider calling for professional help to get the best possible results!
Nevertheless, if you’re willing to go for it, you’ll need the following items (find them in your nearest hardware or construction store for sale or rent):
Safety gear
- Safety goggles;
- Work gloves;
- Dust mask.
Measuring and layout
- Measuring tape;
- Chalk line;
- Carpenter’s Square;
- String lines and stakes.
Excavation and base preparation
- Shovel or excavator;
- Wheelbarrow (for transporting materials);
- Rake;
- Compacting plate or compactor machine;
- Geotextile fabric (weed barrier);
- Crushed gravel or aggregate base material;
- Course sand.
Paver installation
- Travertine pavers (ensure you have extras for cutting and replacements);
- Plastic paver spacers (for maintaining consistent joint spacing);
- Rubber mallet (for tapping pavers into place);
- Wet saw or tile cutter (for cutting pavers as needed);
- Level (to check the pavers’ alignment);
- Broom (for sweeping sand into joints);
- Polymeric sand (for joint filling).
Finishing and sealing
- Water source (for wetting sand and cleaning)
- High-quality paver sealer (choose one suitable for travertine)
- Paint roller or sprayer (for applying sealer)
- Paint tray (if using a roller)
- Paintbrush (for detailed application)
Once your setup is done, it’s time to tackle the task at hand. Our tip? Never do this alone – and protect the worksite from unwanted traffic, because it can take a few days.
Step 1: Planning and preparation
To start off, determine the area you wish to cover with travertine pavers. Mark the boundaries using stakes and string lines – and excavate the marked area to a depth of around 6 inches. This depth accounts for the thickness of the base layers and the pavers themselves.

Step 2: Creating the base
Unroll and lay geotextile fabric over the excavated area, for this fabric prevents weed growth while facilitating proper drainage. Then, spread a 4-inch layer of crushed stone (gravel) evenly over the fabric. Compact the gravel using a plate compactor to ensure a stable foundation.
Distribute a layer of coarse sand, approximately 1 inch thick, over the compacted gravel. Level the sand using a screed board and a level to achieve a uniform surface.
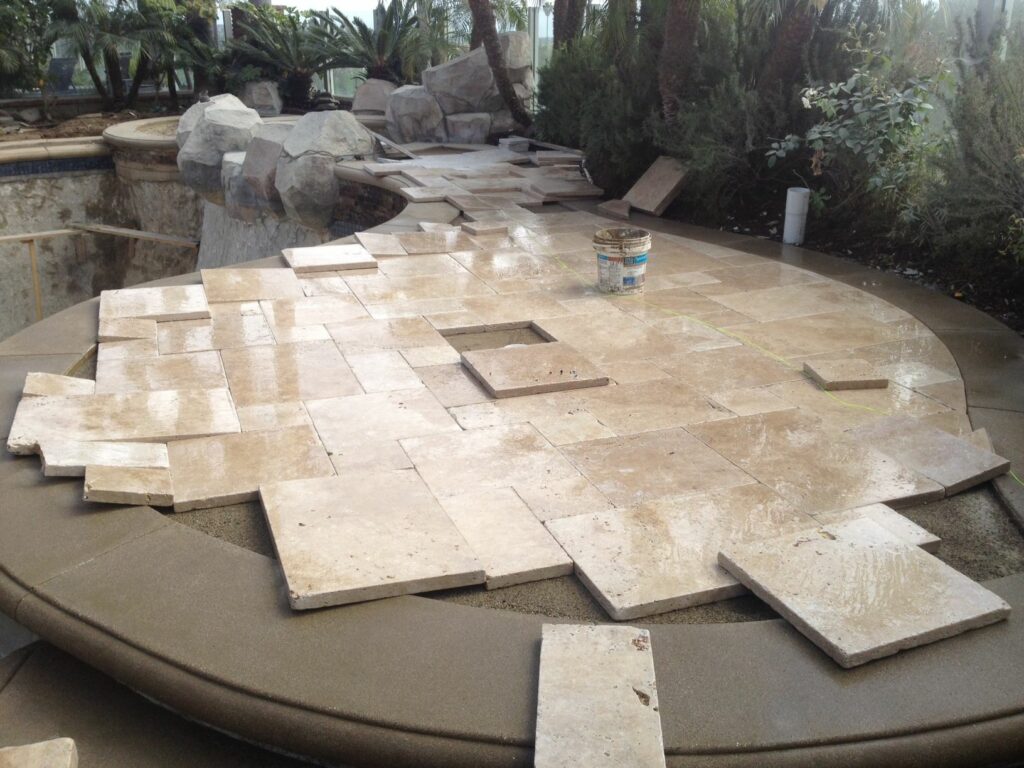
Step 3: Installing the pavers
Begin laying the pavers from a fixed point, such as an edge or a reference line. Lay them in the desired pattern – whether it’s a herringbone, basket weave, or any other design – and place plastic spacers between the pavers to maintain consistent joint spacing. This spacing allows for sand to be added later.
Then, use a wet saw to cut pavers as needed along the edges or corners of the area. Check the level of each paver using a level, tapping the pavers gently with a rubber mallet to ensure they are properly seated in the sand.
Step 4: Securing the pavers
Spread fine sand over the surface of the pavers – and sweep the sand into the joints using a broom. Run the plate compactor over the pavers once more. This helps settle the pavers into the sand and ensures a stable, even surface.
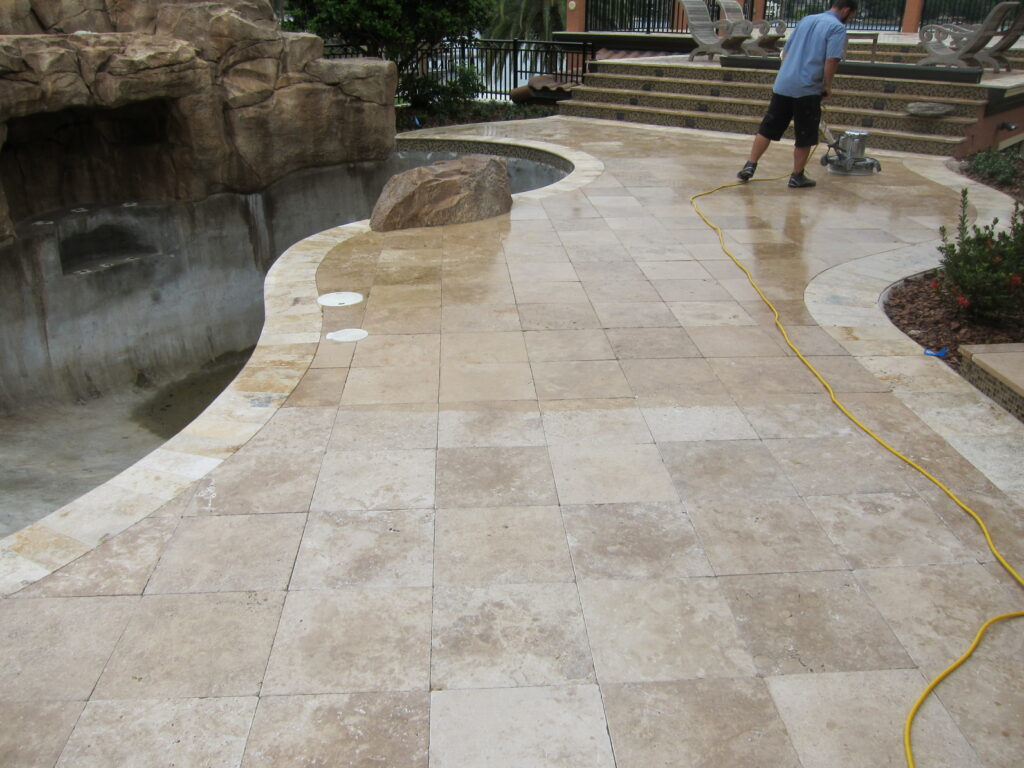
Step 5: Finishing touches and maintenance
Finally, sweep off excess sand from the paver surface and lightly water the area to help the sand settle completely into the joints. Allow the pavers to settle for a day or two before subjecting them to heavy use or placing furniture on them.
After that, you’re all done!
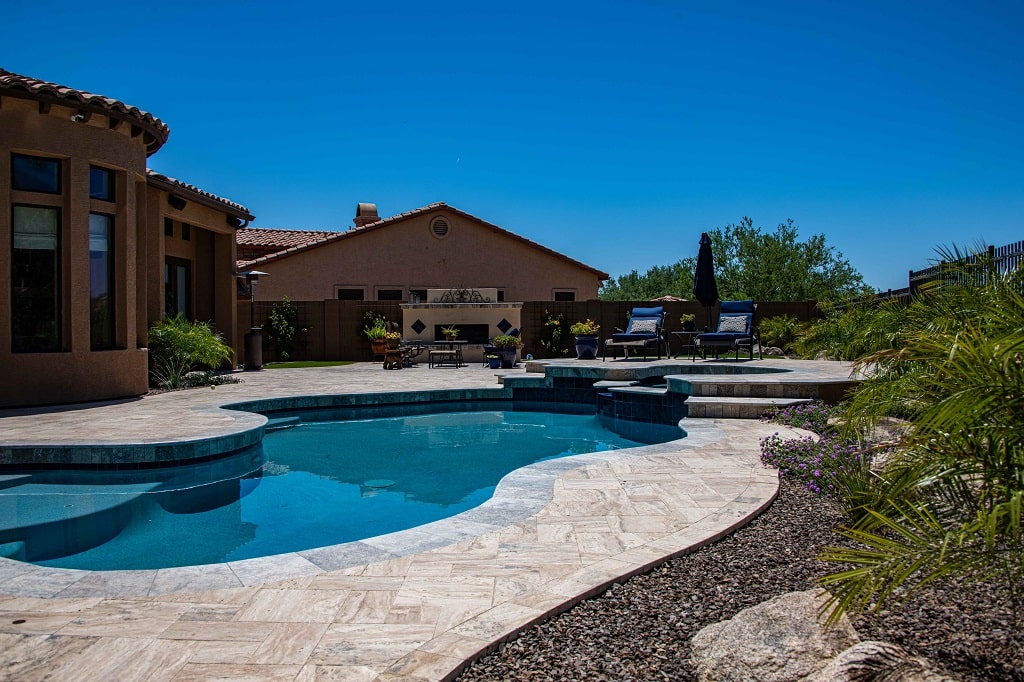
Why travertine is a great hardscape addition
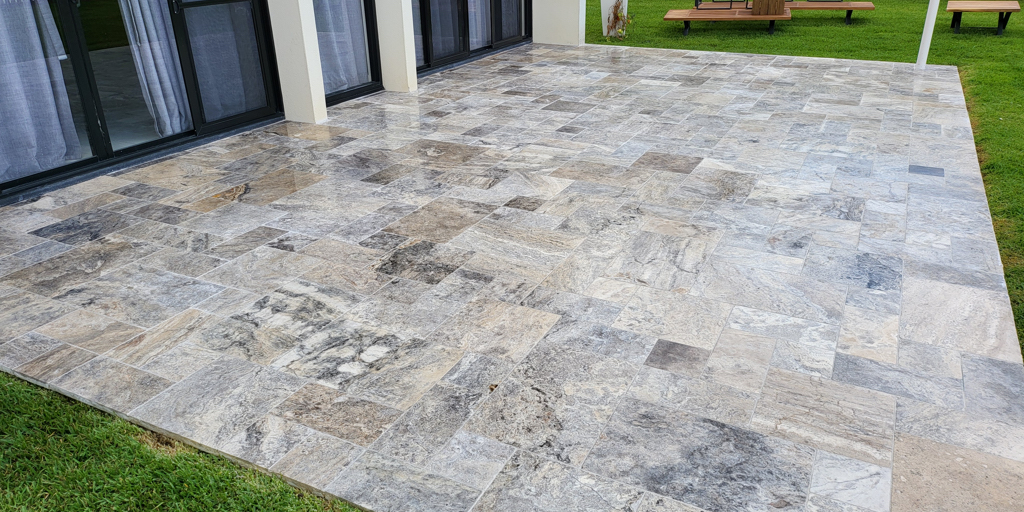
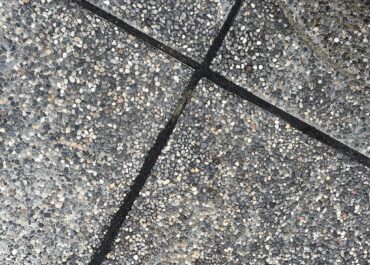
Travertine is renowned for its classic appeal and lasting elegance – this sedimentary rock boasts distinctive texture and color variations that add character and warmth to any outdoor space. When used as a surface material for a pool deck, travertine offers a multitude of benefits that make it a worthwhile investment.
- Aesthetic appeal: The natural, earthy tones and unique textures of travertine enhance the visual charm of any outdoor setting.
- Durability: Travertine’s robust nature enables it to endure various weather conditions and heavy foot traffic, ensuring the longevity of your hardscape.
- Cool surface: Unlike some materials, travertine remains relatively cool even in direct sunlight, making it comfortable for barefoot walking on hot days.
- Low maintenance: Routine cleaning and periodic resealing are typically sufficient to keep your pavers looking splendid over the years.
Should travertine be sealed?
The question of whether to seal travertine pavers is a nuanced one, surrounded by differing opinions among experts in the field. But why is that?
Well, travertine is naturally permeable – allowing water to be absorbed – which contributes to its unique character and slip-resistant properties. However, this water-absorption trait also raises concerns about the potential for staining and damage from harsh weather conditions. Sealing travertine pavers can help mitigate these concerns by creating a protective barrier that repels water, oils, and contaminants.
To read our complete guide on pavers restoration, click here.
Think about it this way: sealing is recommended in any outdoor project that isn’t regularly wet or humid, as in the case of pool decks. Just remember that you should always consult an expert before making any budget-driven decisions.
Get an unlimited supply and professional installation with Eagle Pavers!
So, have we helped you decide on the best surface for your outdoors? As professionals in the business for years, trust us in this: there’s no margin of error with travertine pavers, especially when it comes to wet areas.
As a branch of Eagle Stones, our team specializes in paver supply and installation around the county of Sarasota and Manatee, Florida. In case you’re near us, don’t hesitate to give us a call so we can get started on your project with a free estimate! Click here to view the full online catalog – we’ll be waiting for you to reach out.
Polymeric Sand Colors: 7 Tips to Choose
Polymeric sand is a building hardscape material used in the spaces between paving stones in…
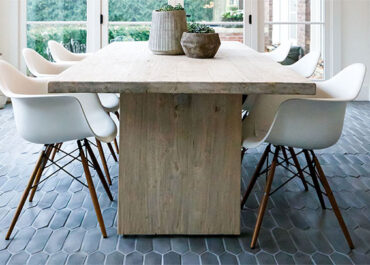
A guide to indoor pavers in home design
Who says that paving stones can’t be implemented into interior decoration? Despite their outdoor nature,…
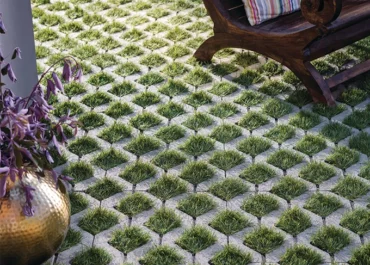
How to Install Permeable Pavers in 10 Steps
Among the many types of paving stones available for hardscape design, permeable pavers have been…