Porcelain pavers have been dominating the hardscape industry for some years now. Their incredible resistance, easy maintenance and aesthetic appeal have made them a top material for paving options. So how to install outdoor porcelain pavers?
The installation of porcelain pavers is no different from any other regular paver installation. It can be easily done as a DIY project over a sunny weekend. However, there’s one aspect that needs to be taken into account.
Porcelain pavers can be heavy, especially on their outdoor variation. Depending on the weight of your porcelain pavers, it might be too difficult and dangerous of a job for one single person. In that case, you will need a hand to help you.
Of course, you can always choose to hire professionals to help you with your installation. In fact, that is always the recommended course of action. A porcelain paver installation can be a costly investment, and you want to make sure you’re left with the best possible installation to avoid future headaches.
But, for now, let’s walk you through the process of an outdoor porcelain paver installation.
How to Install Outdoor Porcelain Pavers – Dry Installation
Although there are many options of installation, the dry installation is almost always the best option.
A dry installation consists of setting the pavers over a bedding of compacted sand and road base. This bedding is placed by excavating the area and protecting the ground beneath with geotextile fabric.
We will give you a guide on how to perform this installation, from start to finish.
Step 01 – Planning
Everything starts with planning, and the importance of this step cannot be overlooked.
Since we are tackling this guide as a DIY project, there’s a very important thing to consider: avoid having to cut pavers at all costs.
Porcelain pavers are extremely sturdy and hard to cut. It can only be done using a wet saw with a diamond blade. And since this is not a tool people usually have available on their shed, it is very important that you acquire porcelain pavers of the precise size you’re going to need.
So measuring the area you want your installation to be and having the right size of pavers is extremely important. When measuring the area, don’t forget to account for the edgings that will need to be placed on the outside and the minimal space of 1/8″ between each paver.
As you can already see, these calculations can be complicated, but they are fundamental to a successful installation.
Step 02 – Excavation
With the planning done, it is time to start the excavation.
The depth of said excavation need to be equal to the thickness of the pavers (3/4″) plus one layer of road base (2″) and one layer of bedding sand (1″).
Now for another very important aspect: the slope.
To create the slope, add one inch of depth to your excavation for every 4 feet of length, moving away from the main structure.
Step 03 – Road Base
It is now time to fill the hole and actually start creating the bedding.
First, you want to completely cover the bottom of the hole you just dug with geotextile fabric. This will help with the drainage, prevent the bedding from shifting and help with the prevention of weeds.
On top of the geotextile fabric, you’ll add 2″ of road base or gravel. Make sure to compact it as best as possible using a plate compactor or hand tamper.
At this moment you can place your edgings, if you’re using store bought ones of coping pavers.
Step 04 – Sand Base
On top of the road base, you’ll spread a 1″ of bedding sand, making it is leveled all the way.
To do that, you can place two 1″ diameter pipes across the installation and use them as a base to screed the sand.
Step 05 – Placing the Porcelain Pavers
With your bedding done, now is time to place the pavers into place.
To do that, gently put the pavers in place with the help of the spacers. Never shift them around once they are settled. You can tap them slightly with a rubber mallet to lock them in place.
Step 06 – Finishing Touches
To top things off, sweep away any debris and fill the joint between the pavers with polymeric sand. Spread the sand across the entire installation and sweep it into the joint until they are completely full, removing the excess sand by the end of it.
With the help of a garden hose, slightly mist the entire installation to activate the polymeric sand and lock the pavers into place.
Advantages of Outdoor Porcelain Pavers
Porcelain pavers are incredibly resistant, capable to withstand even the heaviest weights. In fact, it is often the choice for heavy traffic areas and factory flooring.
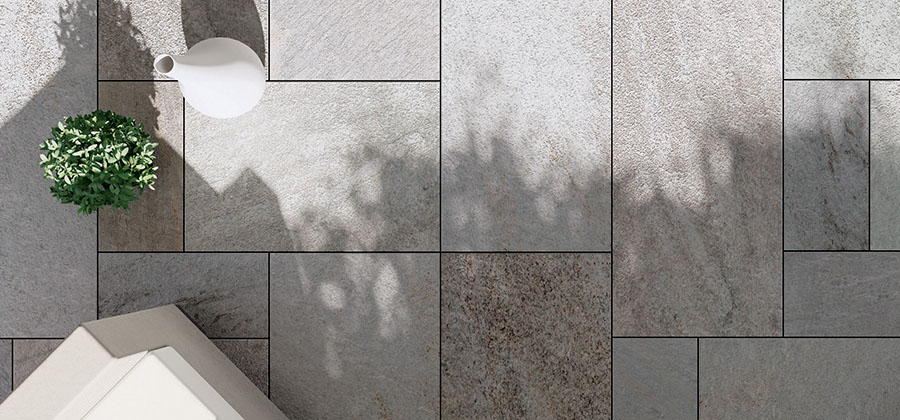
Also, thanks to the manufacturing process of porcelain, it can be same to simulate virtually any texture there is, including the ones from natural stone and even wood, making it an extremely aesthetically pleasing material.
Porcelain paver are also non-porous, which means they won’t absorb water or other fluids. This makes the maintenance process way easier, dispensing the need for sealing and making one of the best cost-effective pavers in the entire hardscape industry.
Acquiring Outdoor Porcelain Pavers
Now that you know how to install outdoor porcelain pavers, it is only a matter of getting your hand on the perfect paver for your project and start working.
As we previously mentioned, the best course of action is to contact professionals to help you with everything, with both the acquisition of pavers and the installation of it.
We here at Eagle Pavers have performed countless porcelain paver installation over our 12 years of experience, so we know the importance of working closely to homeowners to make sure everything comes out perfect.
In fact, if you happen to be around our area of activity, the Sarasota and Manatee counties, in FL, why not give us a call to help you?
You can contact us right now at +1 941-210-4192 or email us at sales@eaglepavers.us. We would be happy to hear from you and help you with your porcelain paver project.
Polymeric Sand Colors: 7 Tips to Choose
Polymeric sand is a building hardscape material used in the spaces between paving stones in…
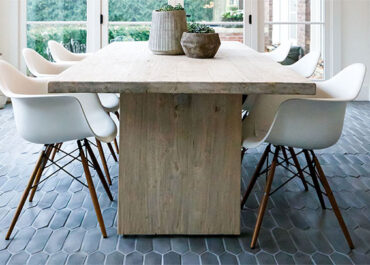
A guide to indoor pavers in home design
Who says that paving stones can’t be implemented into interior decoration? Despite their outdoor nature,…
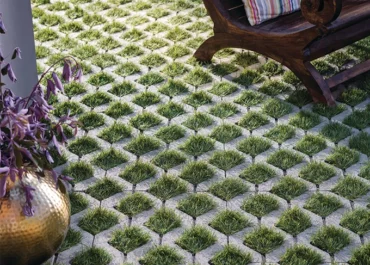
How to Install Permeable Pavers in 10 Steps
Among the many types of paving stones available for hardscape design, permeable pavers have been…