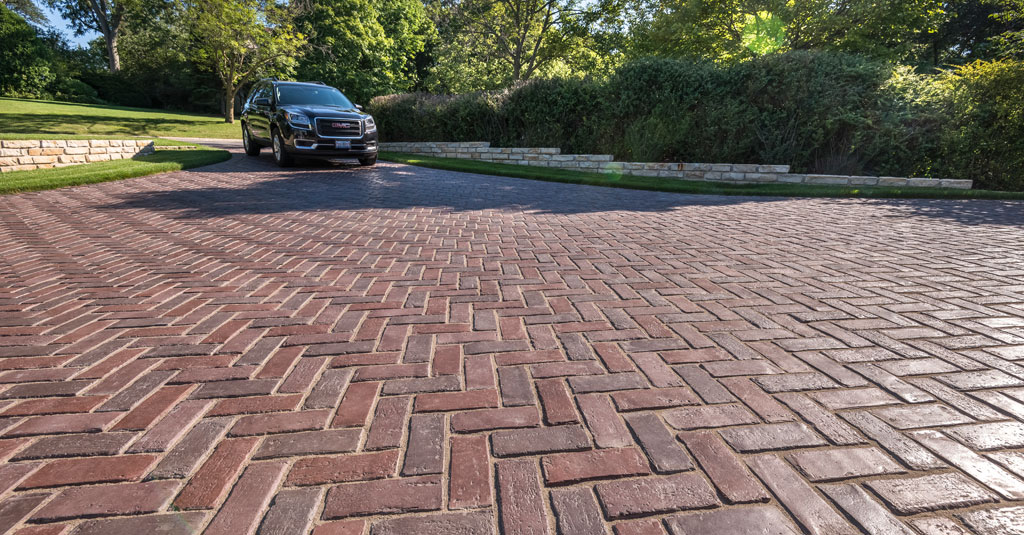
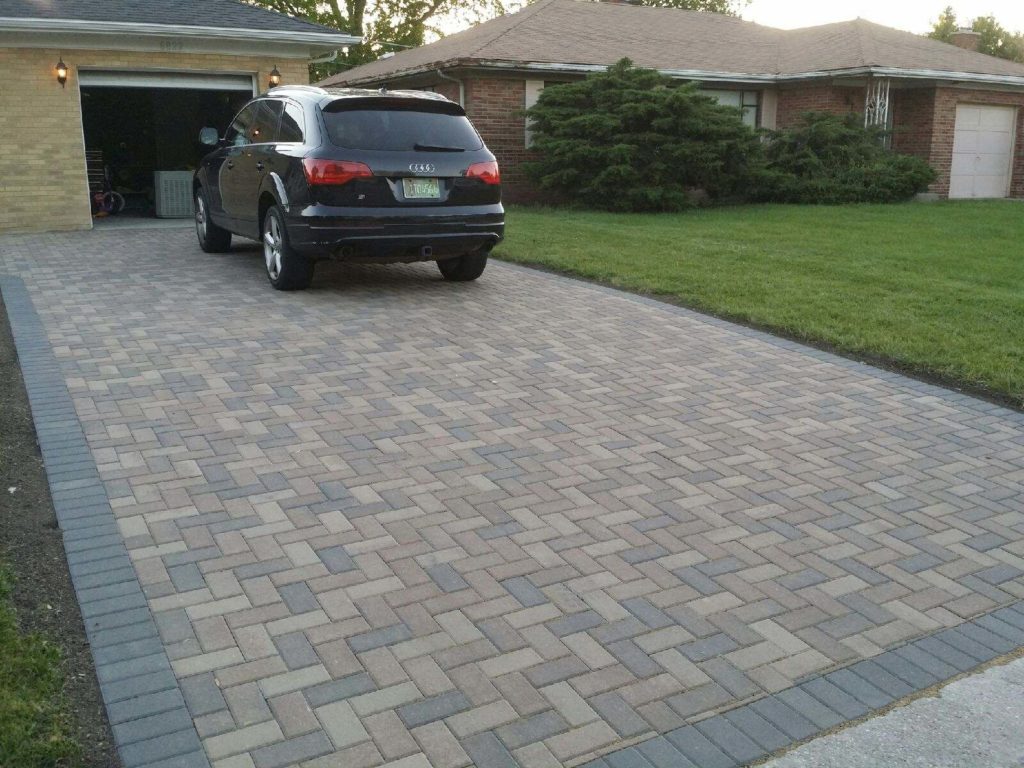
A beautiful paver driveway is the dream of many homeowners. Pavers are a reliable choice in both aesthetics and functionality. When properly installed, a paver driveway can last for a lifetime. Many people ask, “can I pave my own driveway?”, and, in this article, we will finally answer that question.
To go straight to the point: yes, you have that option. A paver installation can be done from a DIY perspective without many troubles along the way. However, it is not an easy or trivial job, and it should be done with perfect planning and execution.
So, if you have at least a little experience with hardscaping and feel like a paver installation is something you can safely tackle, by all means, go for it. But if you’re not confident or never tried anything like it before, it might be too much to handle, depending on what you have in mind exactly.
Either way, we are going to present you with a guide on how to pave your own driveway. Reading the guide will give you an idea if you will be able to do it from a DIY perspective. So let’s get right into it.
Can I Pave My Own Driveway? First Considerations
Before moving on to the de facto guide, let’s clarify some things.
Planning and preparation are crucial to any paver installation. The more time you take at this phase, the fewer problems you will encounter along the way.
Choosing Pavers
It all starts with the choice of paver. There are many options available in the market, each with its own characteristics. Since we are talking about driveways, let’s start with the best available options in the market for that case: concrete pavers and porcelain pavers.
Concrete pavers are your go-to category of pavers. Sturdy, reliable, with many design options, they have been the kings of the paver market ever since their conception.
They are incredibly resistant blocks made out of concrete that, when installed in an interlocked system, can withstand even the heaviest weights.
However, they are a porous material that needs to be sealed to ensure their longevity. Sealing prevents spills from penetrating the porous surface and also helps against weather effects, like snow and freeze-thaw cycles.
Protection against spills is extremely important in driveways, as tire marks and oil spills are a natural occurrence in those situations. So, when it comes to concrete pavers, sealing is a step that can’t be skipped.
On the other hand, we have porcelain pavers, which have conquering more and more of a part of the market each year.
Porcelain pavers manage to be even more resistant than concrete individually. The porcelain paver variation used in vehicular applications is a sturdy block, 2 cm thick, of one of the most resistant materials known to man.
Furthermore, porcelain paver have a tremendous advantage over concrete: it is a non-porous material. That means it is naturally resistant against spills, and you won’t have to spend further on sealing.
Maintenance of porcelain pavers is one of the easiest ones to make. That, combined with incredible resistant and limitless design options, makes porcelain paver the current top tier choice in the market.
Planning Phase
Now that you have an idea of what kind of paver you would like to get, you can start planning your installation. And planning is really important, so take your time here.
Go outside, take some measurements, draw your outline. This must be as hands-on as the installation itself would. Knowing the exact area you’re going to work it is important. With an area established, you can better plan the acquisitions of the material needed for the installation.
There is one specific piece of information that is important to know right at the beginning of this planing phase: how exactly you’ll have to dig your site.
A typical paver installation has a depth of 7″ plus the thickness of your pavers of choice. And every 4ft, starting from the main building in the area, you should add 1 more inch to create a slope. The slope is crucial to prevent drainage problems.
Can I Pave My Own Driveway: Installation Guide
With the layout planned and the pavers chosen, now you can move on to the actual installation process. Everything can be done in 6 easy steps that go as follows.
Step 01 – Excavation
You’re to start by marking the area on the ground and placing wooden stakes at the extremities. Start at what will be the highest point of the installation, marking it with the help of a construction line, by tying it to the wooden stake.
Bring the line all the way back to the other stake and place tie it to the other stake, accounting for the slope. For every 4 feet of distance, tie the line down one inch lower.
Now you can use the line as a guide to dig the site.
Step 02 – Bedding
Next, you must cover the entire bottom of the hole with geotextile fabric. On top of that, you’re going to add your 6″ of crushed rock base, compacting as best as possible along the way.
Step 03 – Edge Restrains
Edge restrains are extremely important. They secure your pavers in place and prevents them from shifting around with time.
There are many variations of edge restrains you can use. Most of them involve the use of nails to hammer them to the ground at this stage of the installation. Following the instructions on the one you choose is a safe bet, as they are really easy to handle.
Step 04 – Sand Base
Now is time to add the sand to your installation, and this should be done with patience and precision.
First, you’re going to get two long 1″ pipes and place them next to each other. On top of them, you’re going to pour sand and, with the help of a 2×4 placed on top of said pipes, screed the sand around.
That will make sure you have a perfectly leveled 1″ layer of sand.
Divide the area in small sections and be careful when removing the pipes after the layer is done.
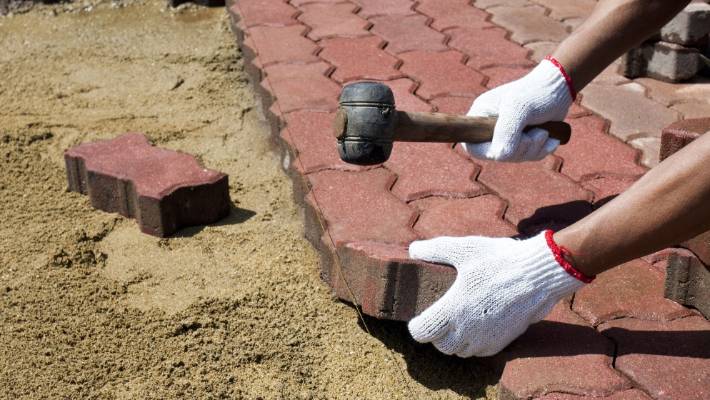
Step 05 – Laying the Pavers
Now for the grand moment, laying the pavers.
The process is really easy. You simply lay the pavers down on the sand, never moving them around once they are settled, and tapping them slightly with a rubber mallet to secure them in place.
Start from the edges and slowly move your way towards the center.
Step 06 – Polymeric Sand
Once all the pavers are placed, now you can move on to the final part of the installation, and arguably one of the most important ones. The joint sand will create the interlocked system and keep your pavers in place.
Spread polymeric sand all around the installation and gently sweep it around with a broom, The goal is to fill every single joint line between each paver. Repeat it as many times as needed until you are sure all the joint are filled with sand.
Once you’re finished, sweep the excess sand away and slightly wet the entire area with a garden hose, preferably with a shower setting.
When the joint sand is wet, it becomes a strong bonding agent that secure the pavers in place.
Can I Pave My Own Driveway: Professional Help
And that’s it! Now is just a matter of sealing, and you have paved your own driveway.
Although the process itself is easier, many unforeseeable situations may arise. In fact, you can never fully be prepared for a paver installation, you can only minimize the chances of things going wrong as best as possible.
That’s why many people choose to hire professionals hardscape contractors to do the job for them.
We here at Eagle Pavers have heard the “can I pave my driveway?” question many times and have performed countless paver installation over our 12 years of experience, so we know the importance of working closely to homeowners to make sure everything comes out perfect.
In fact, if you happen to be around our area of activity, the Sarasota and Manatee counties, in FL, why not give us a call to help you?
You can contact us right now at +1 941-210-4192 or email us at sales@eaglepavers.us. We would be happy to hear from you and help you with your porcelain paver project.
Polymeric Sand Colors: 7 Tips to Choose
Polymeric sand is a building hardscape material used in the spaces between paving stones in…
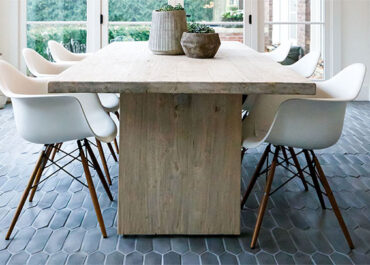
A guide to indoor pavers in home design
Who says that paving stones can’t be implemented into interior decoration? Despite their outdoor nature,…
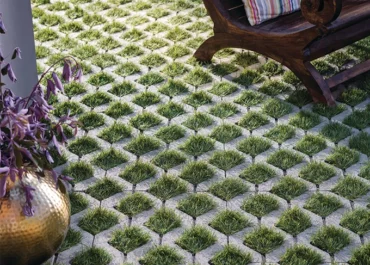
How to Install Permeable Pavers in 10 Steps
Among the many types of paving stones available for hardscape design, permeable pavers have been…